Gallery Safety Barrier
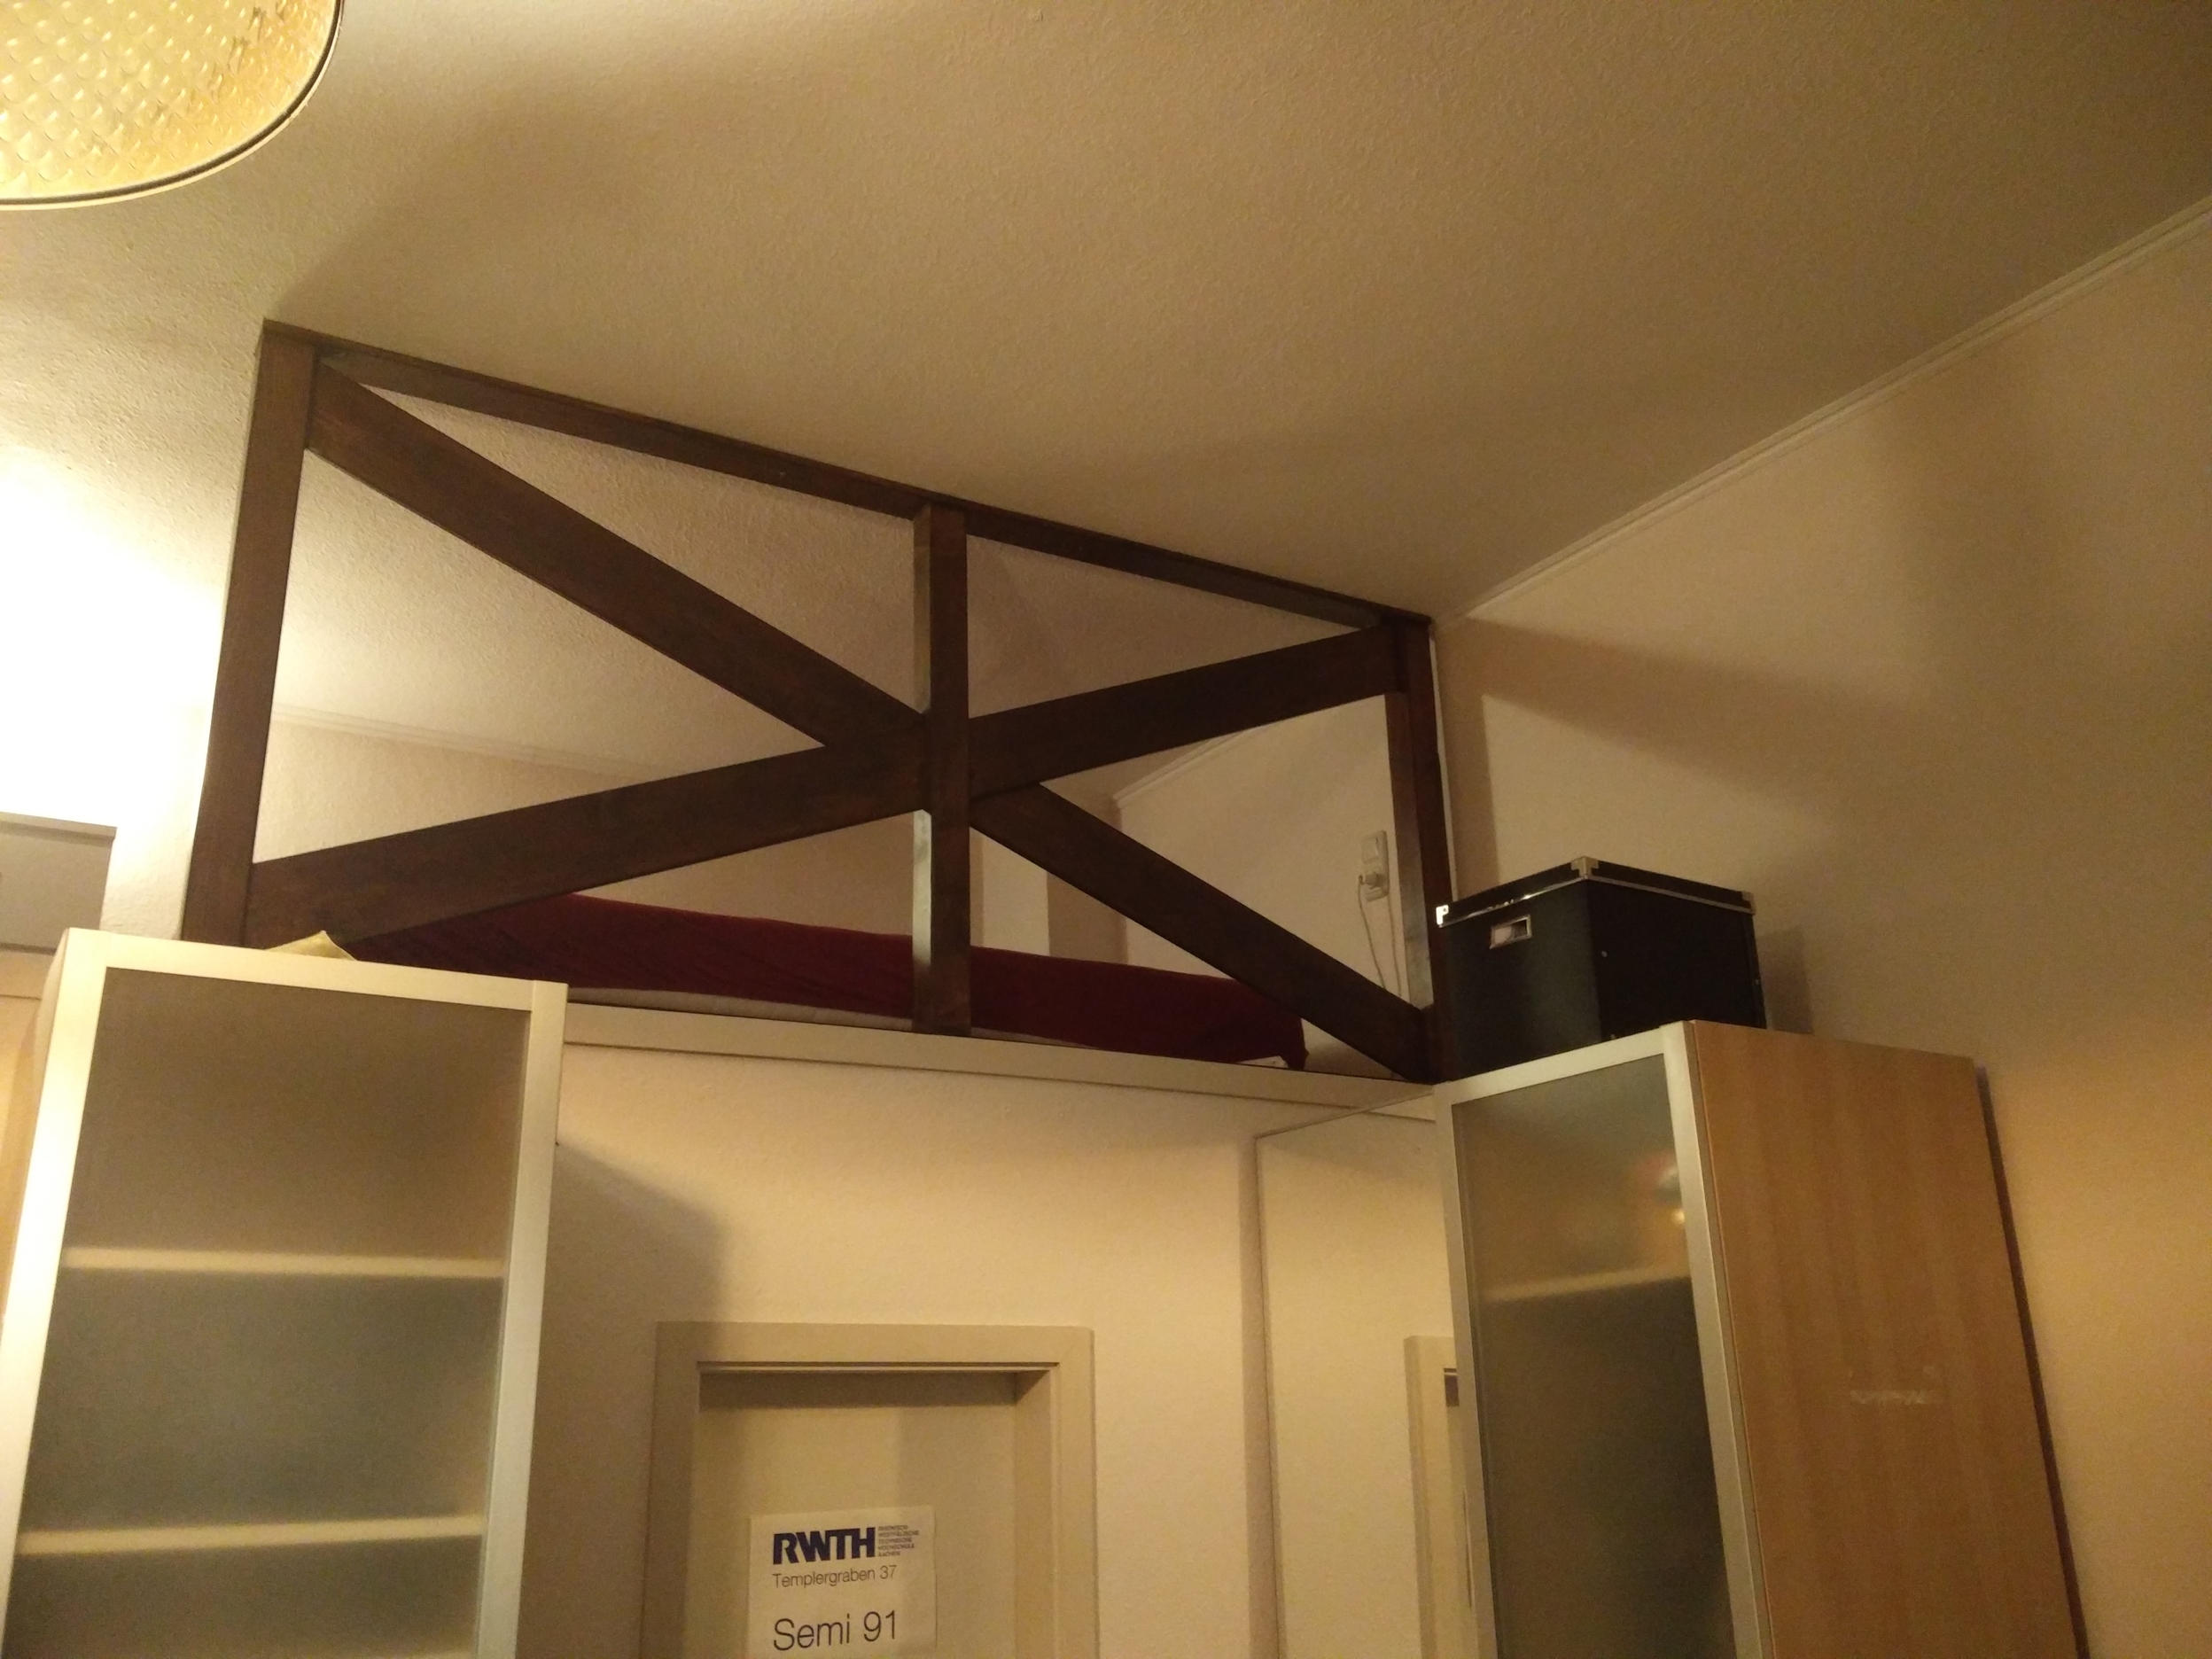
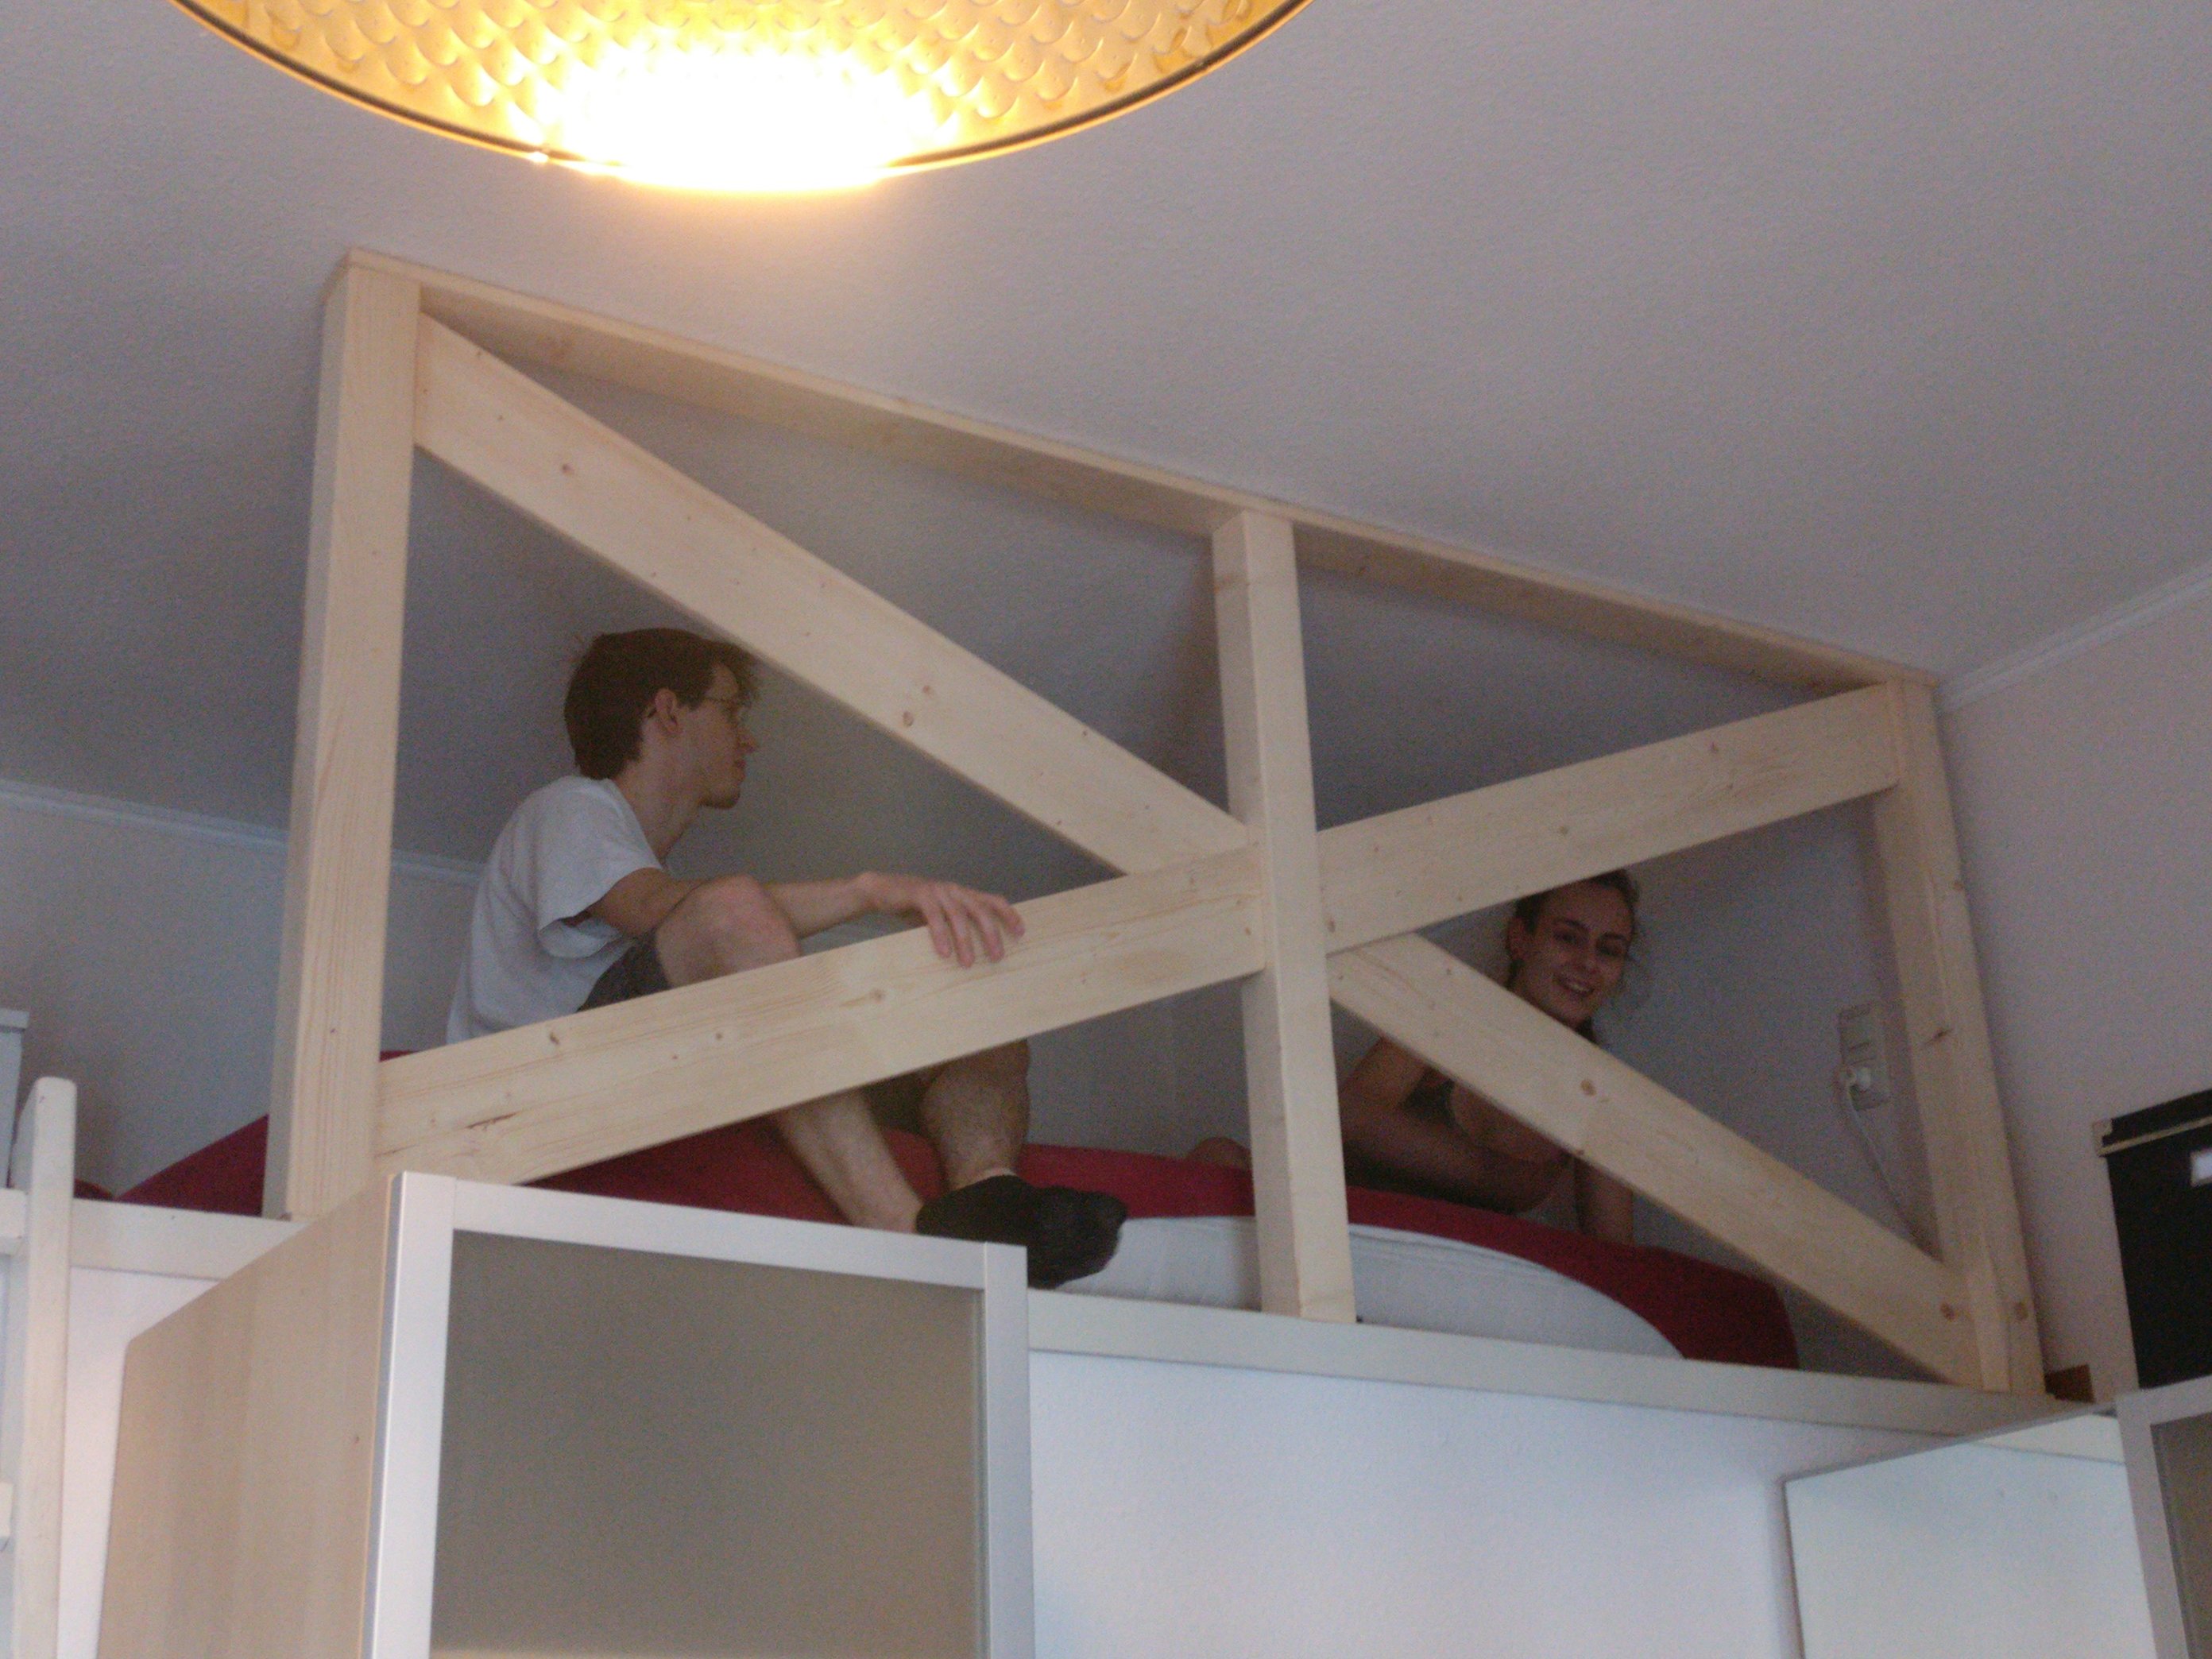
A friend of mine, Laura, lives in a flat with a kind of gallery. The landlord build in a kitchen and a bath in the formerly one large room and now there is some space above that, where the bed is located. Unfortunately there is no ceiling or something similar and sleeping next to a 2.5m abyss is apparently a bit uncomfortable. So Laura wanted to build some kind of safety barrier. Laura designed a X shaped barrier with three “pillars” and so I made some rough sketches in Inkscape. I also tried some other shapes, but I couldn’t convice Laura, so we agreed on a refinement of her design. (It is simmilar to the first item in the sketches.)

Dirk came around and joined the handicraft group. So we went out and bought the wood for it.
One long post (8cm * 8 cm I think), two boards for the cross-bars, and two for the upper and lower mount.
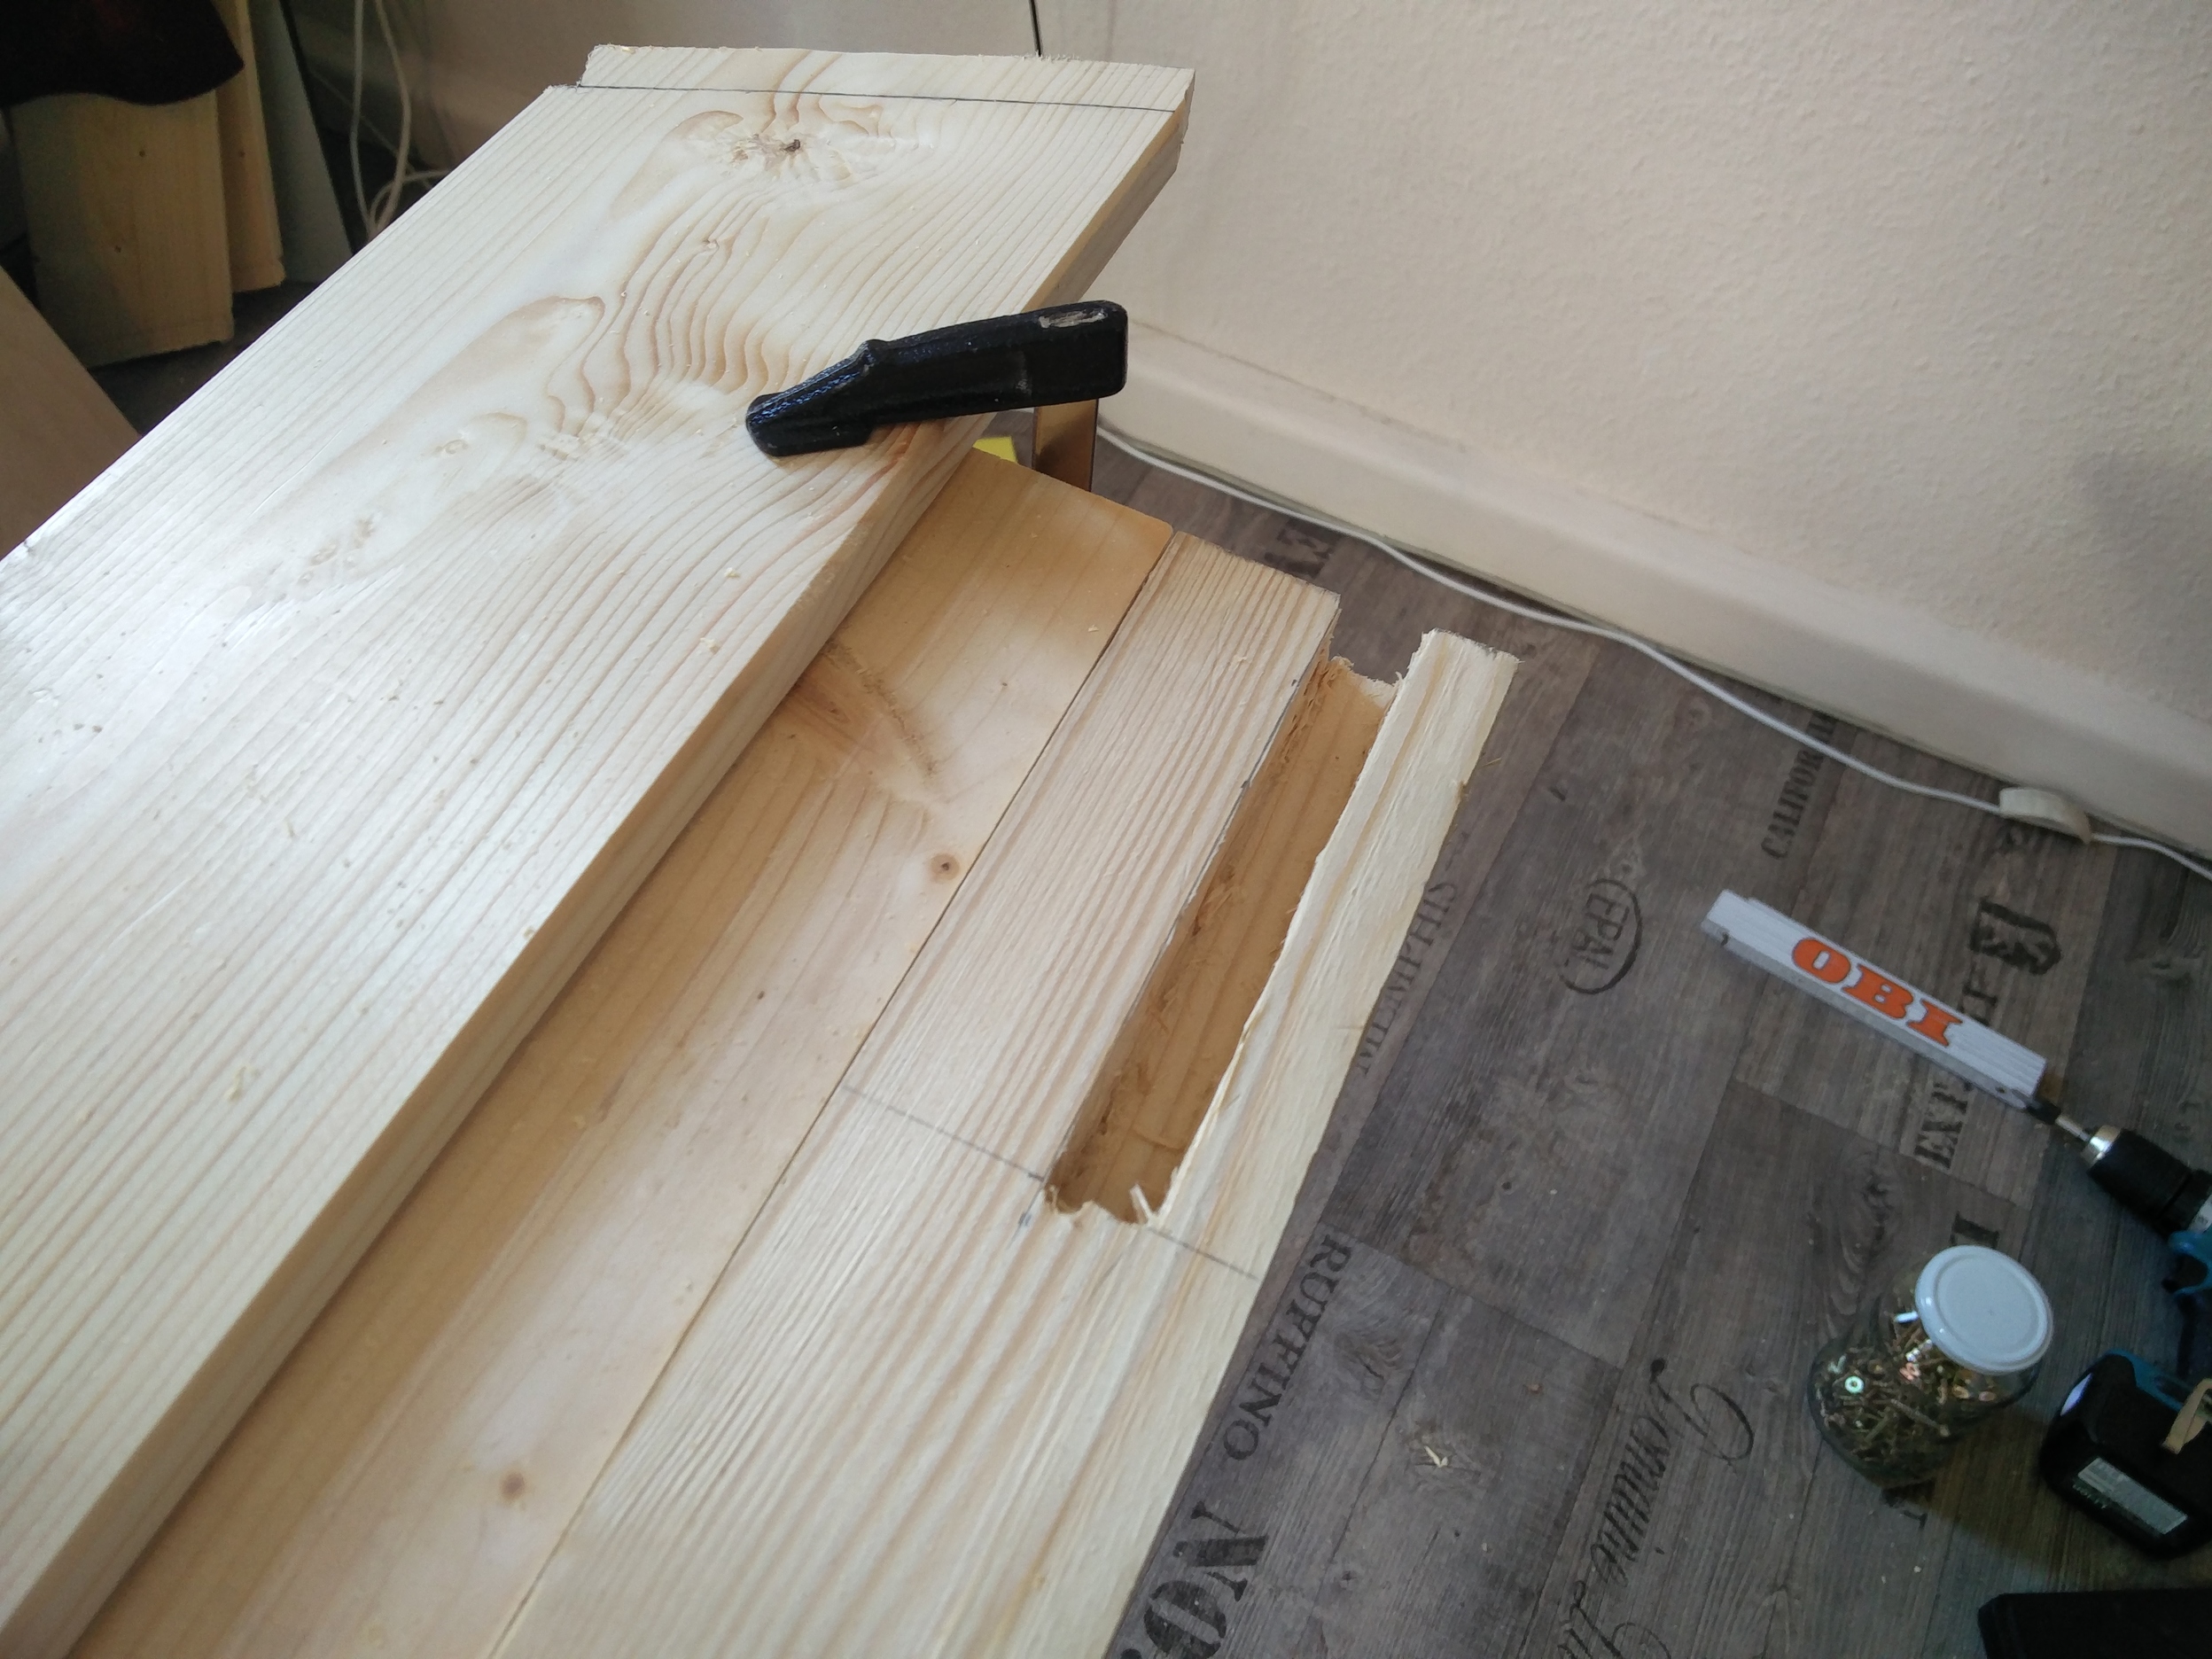
First, we cut the long post into the three pieces and laid everything out to draw the cut lines for the cross-bars. (It was a bit of a challenge, that the floor of the gallery was not parallel to the ceiling).
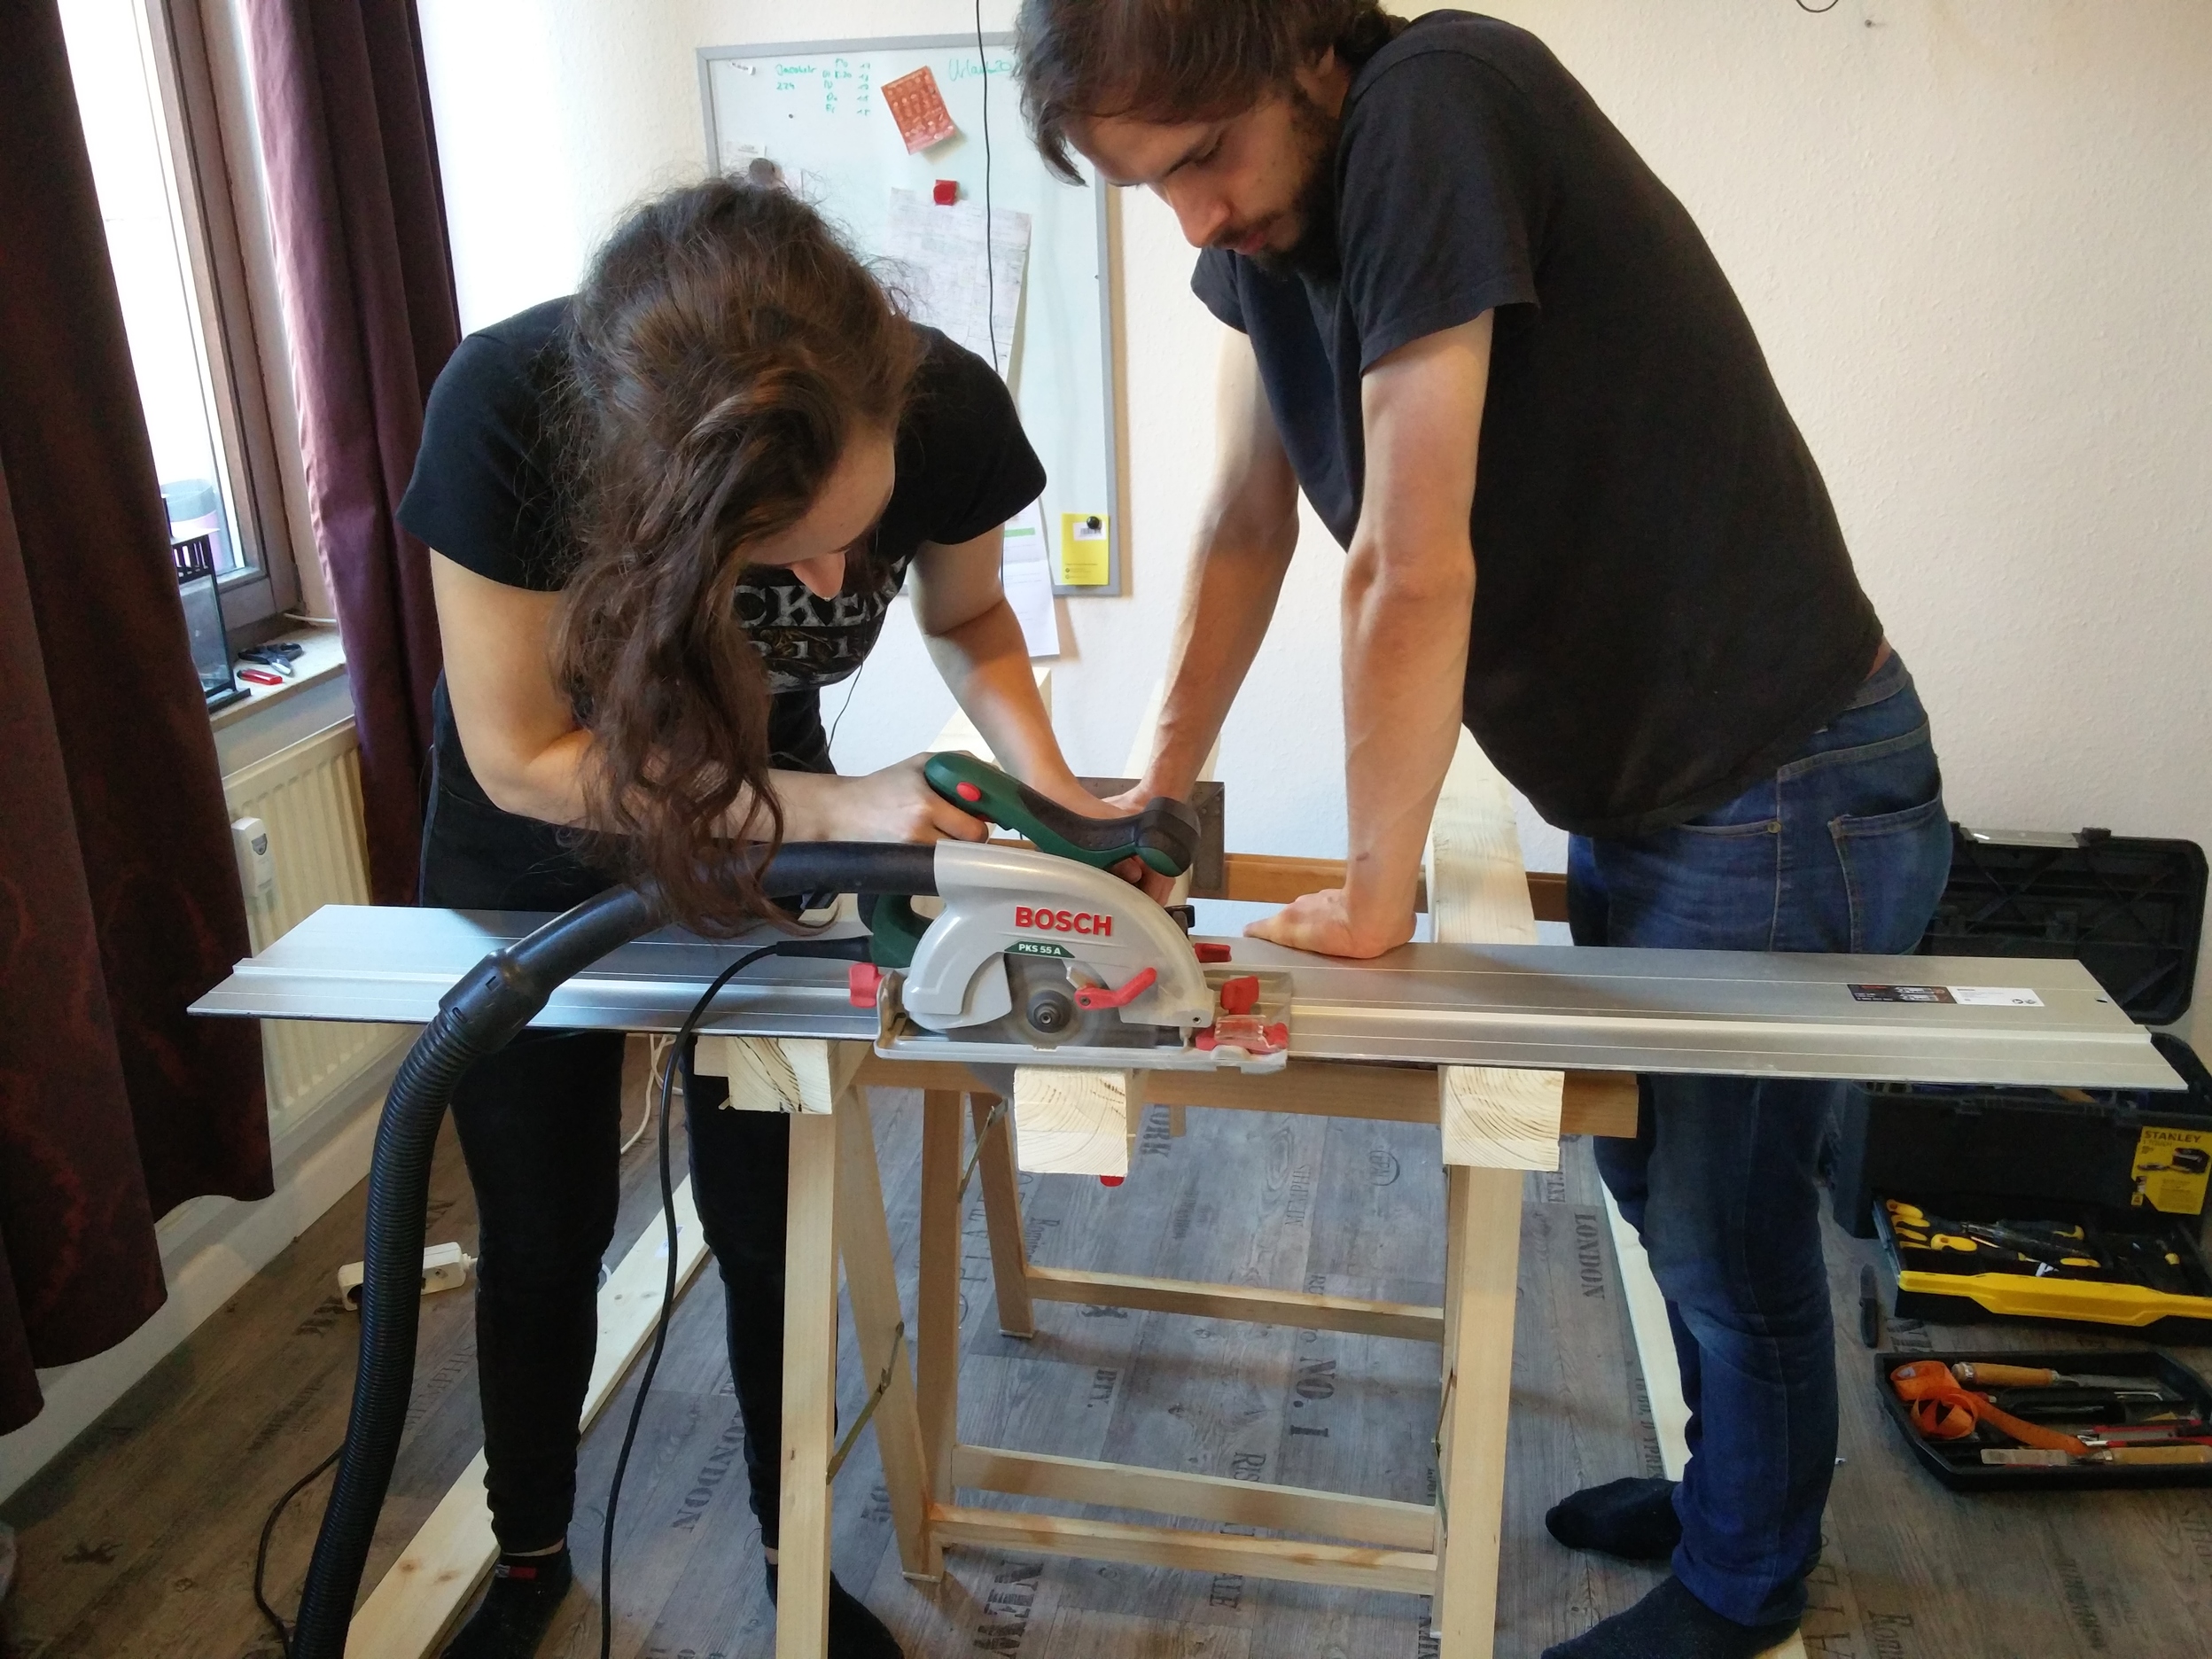

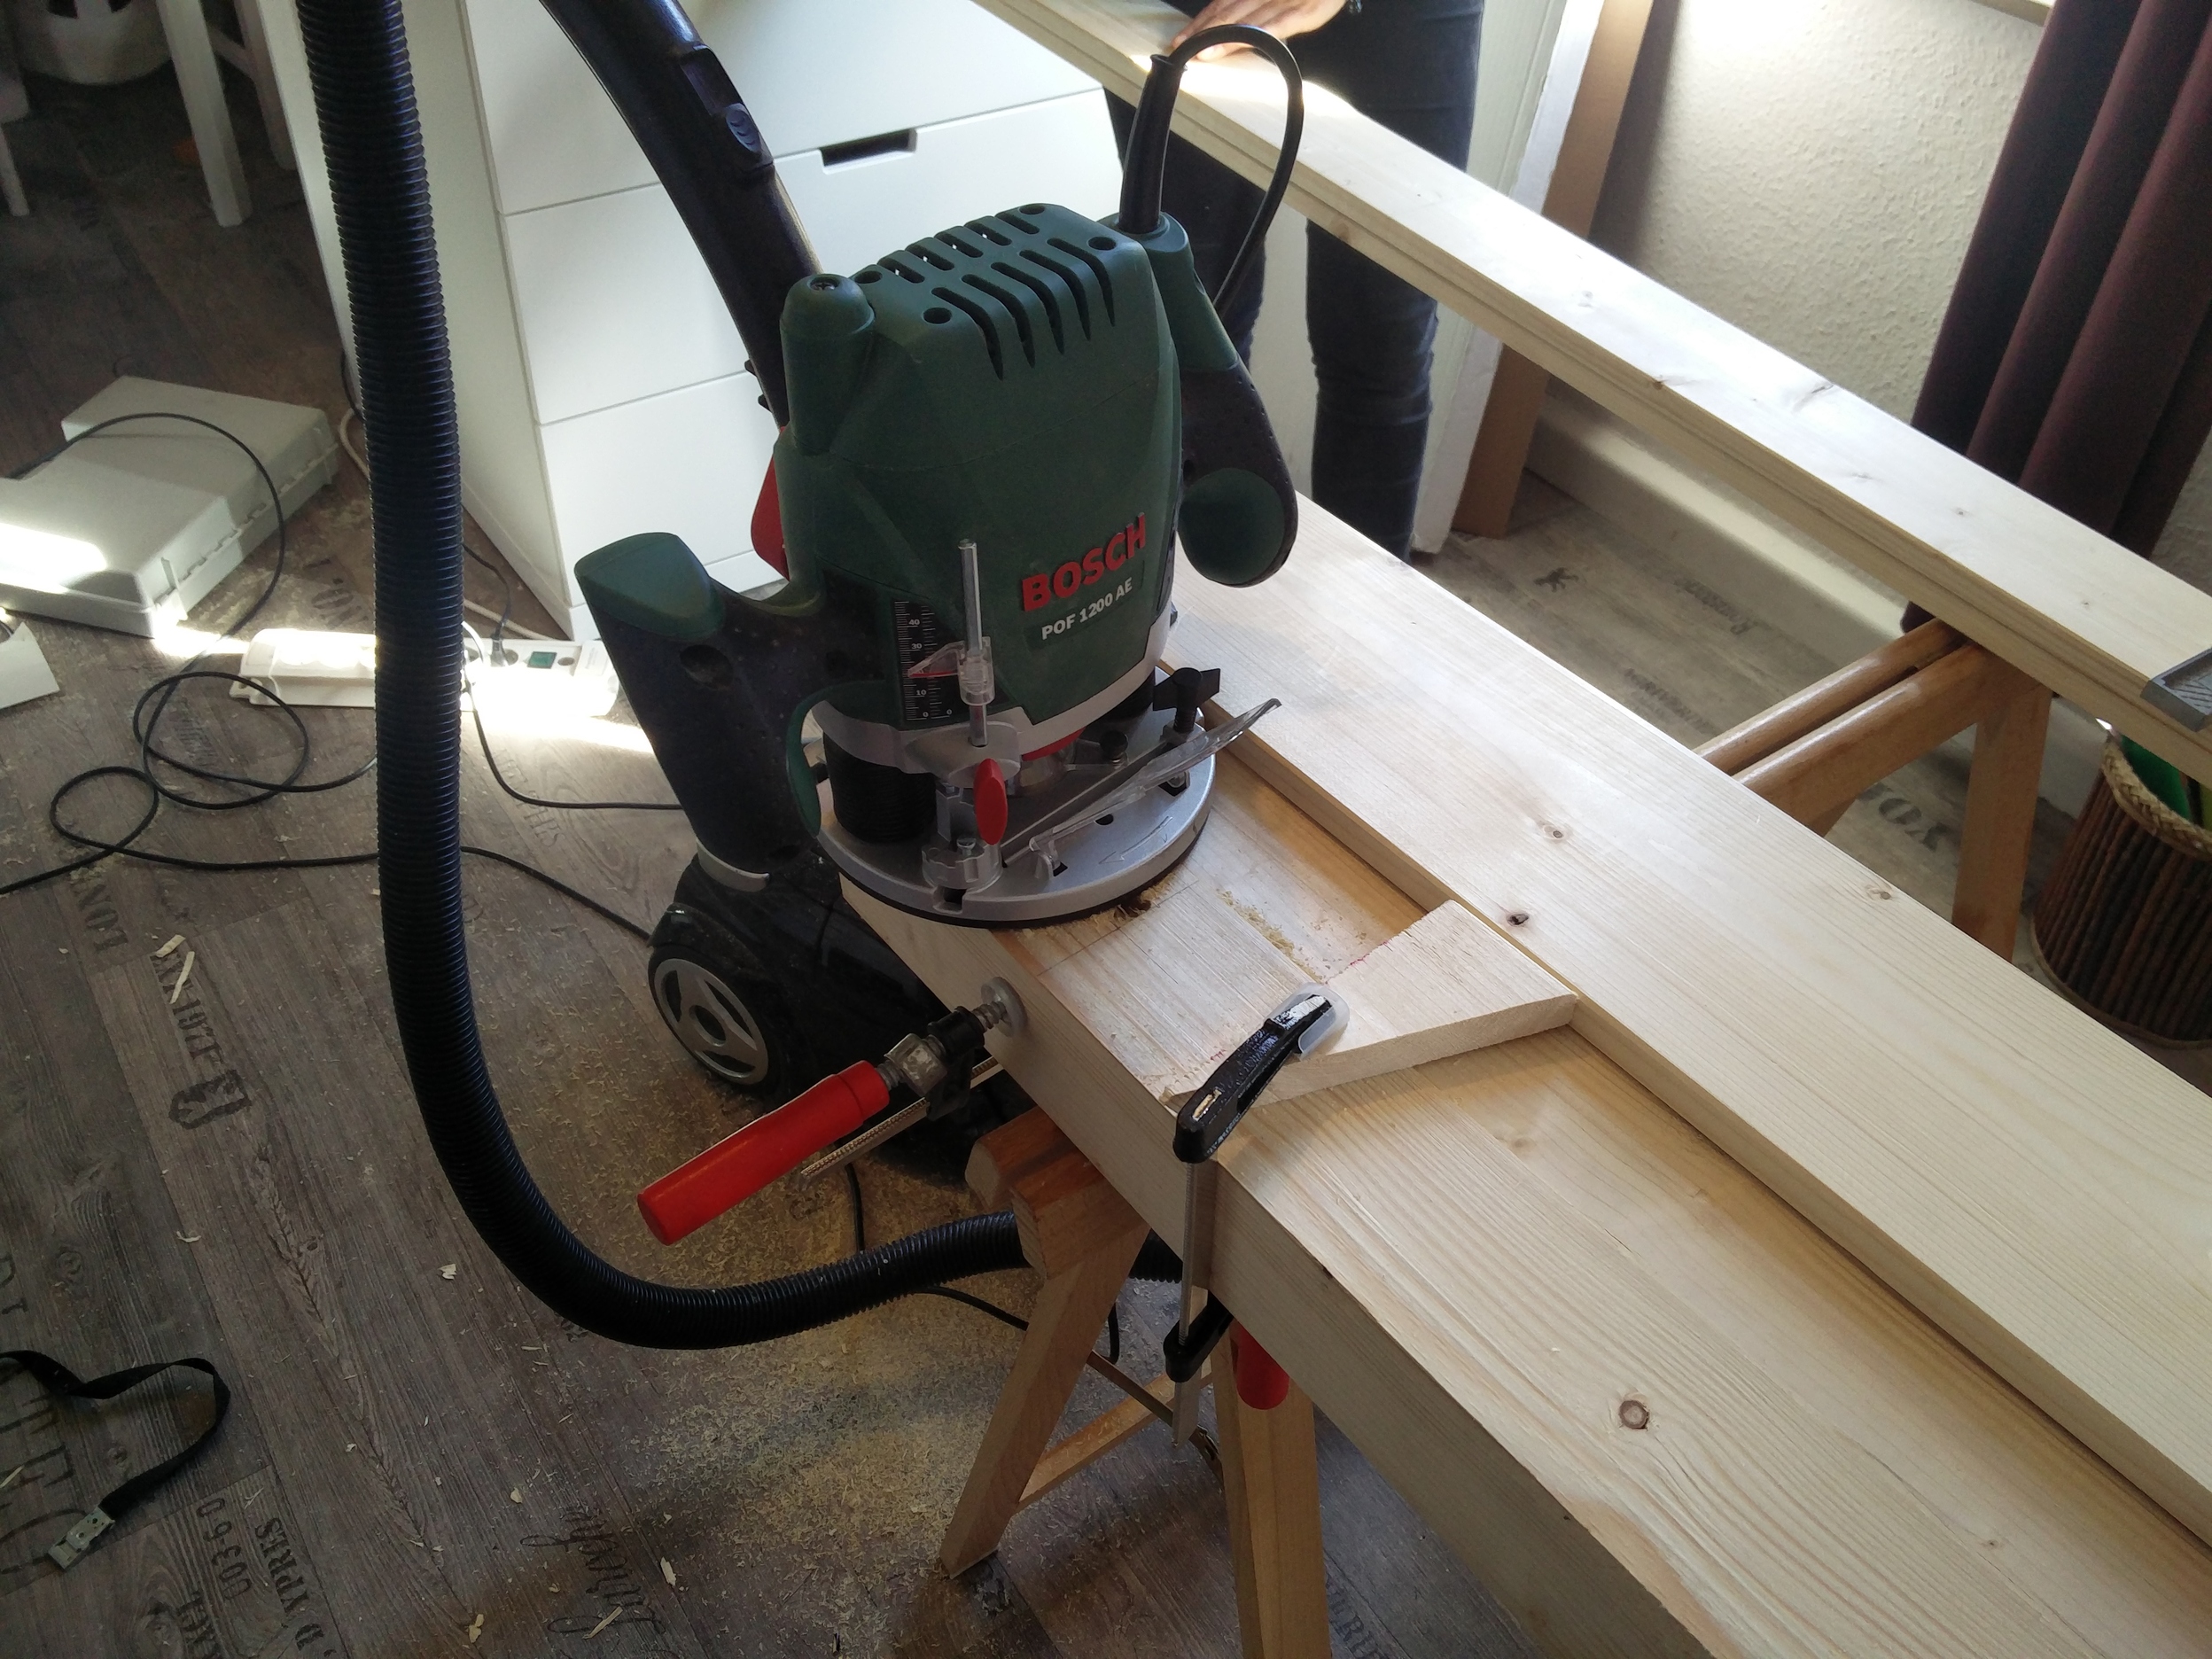
We decided to cut slots into the posts and stick the cross bars into it. This avoids the need for brackets and is probably more stable. I cut the slots with my router, Dirk cleaned up the slots with a chisel and Laura sanded the posts. I wanted to create a router jig, but I forgot the wood to do it, so we used scrap wood and clamps to create some guides for the router. It was not super precise, but as the cross bars overlap the cuts a little bit, this was OK.


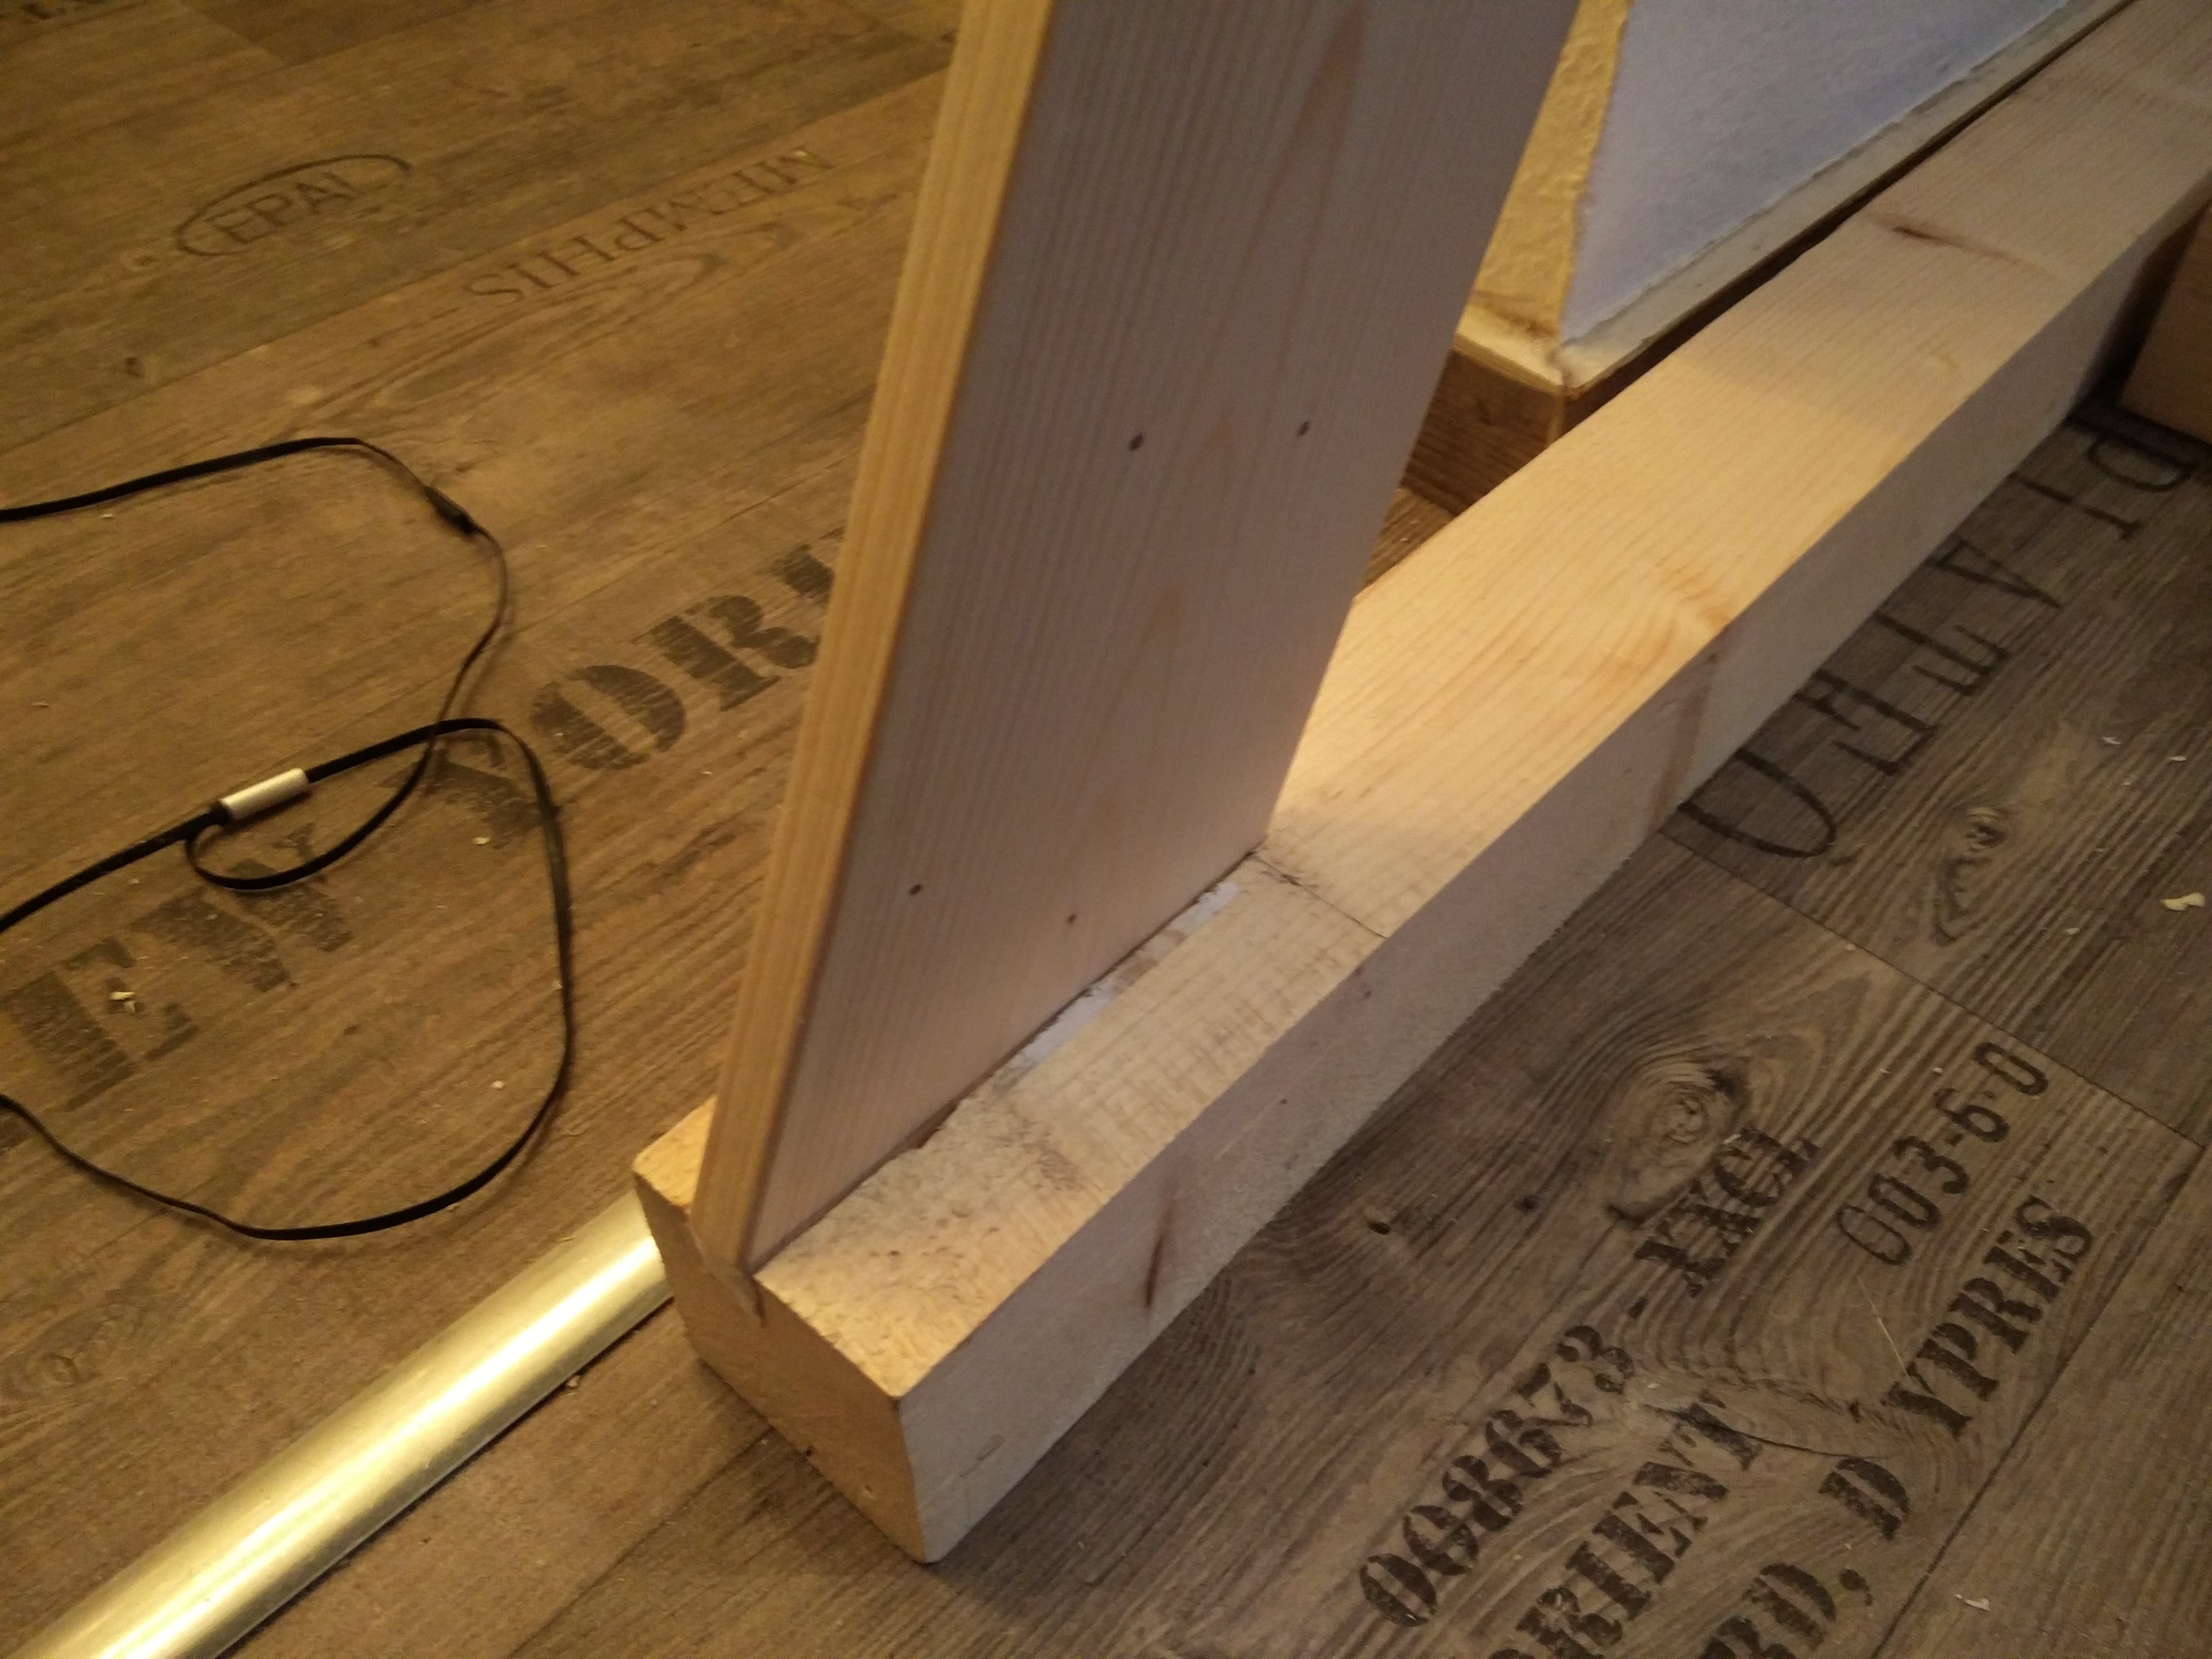
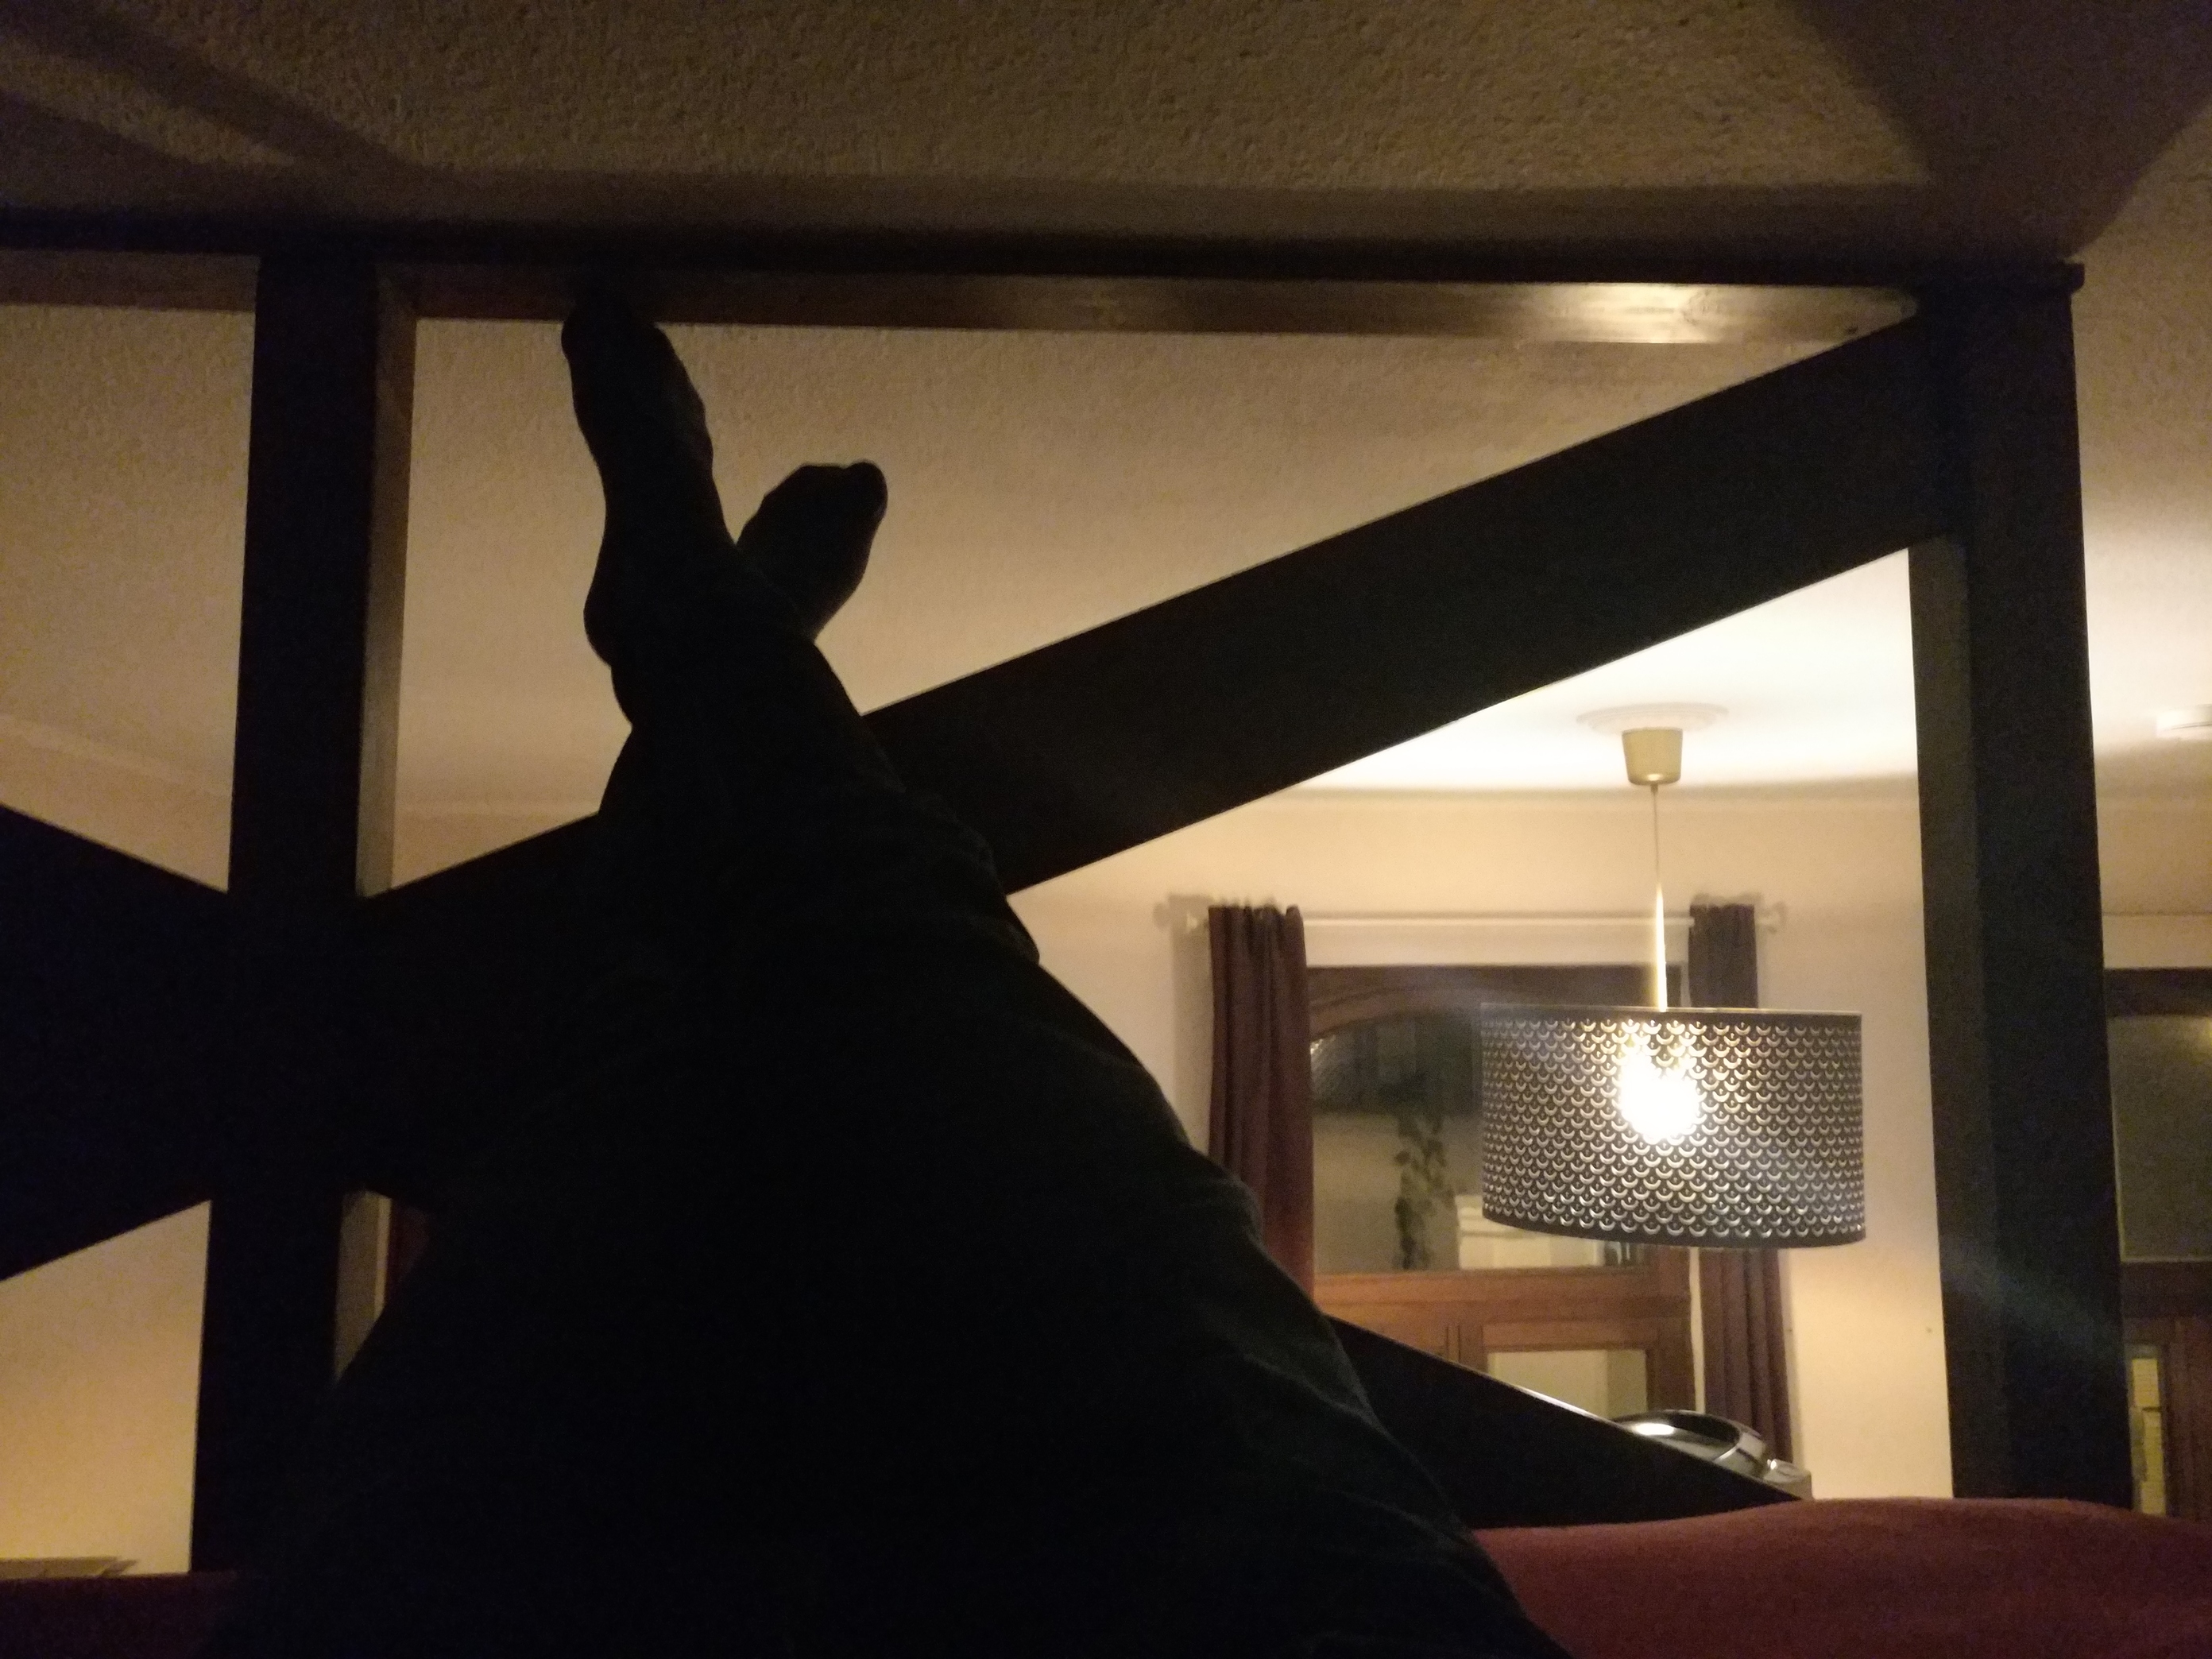
Then we could assemble it and put it in place to validate it.

Laura doesn’t like the optics of light wood, so she painted it dark. Once the paint was dry, we drilled the holes into the ceiling and the floor (which was super loud and one drill broke) and screwed it in.