
How to (not) Change the Keyboard of a MSI-GS30
I use the US-international keyboard layout since a few years now, as the German layout sucks when it comes to programming. But my laptop (MSI-GS30) still has a German layout. Most of the time, I use the laptop inside a docking station, but as I was traveling the last few weeks I decided to replace the keyboard with a US-version one.
On AliExpress I found a replacement part for around 50€. It arrived soon (about 1 week) and after I payed additional 10€ as import VAT, so the total costs were about 65€.

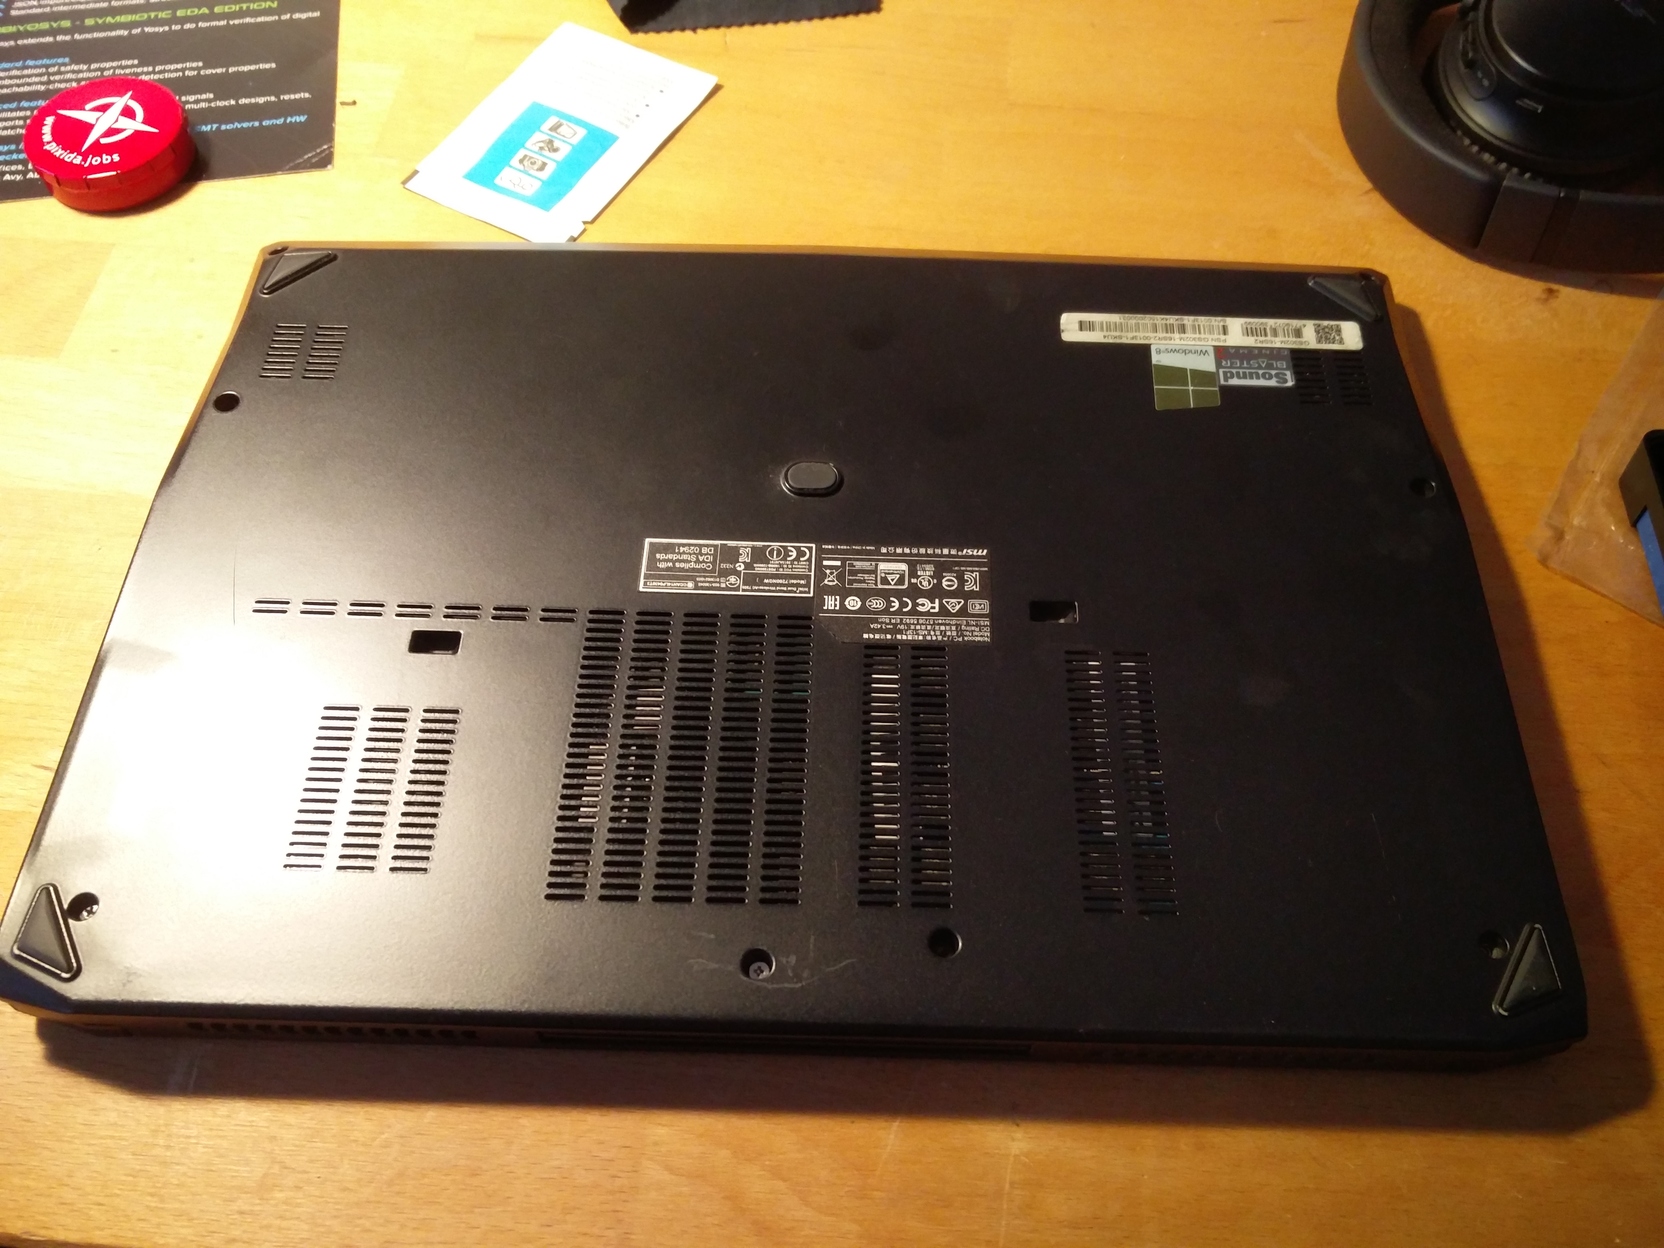
Step 1 - Open the Backside of the Laptop
The first step was to open the laptop.
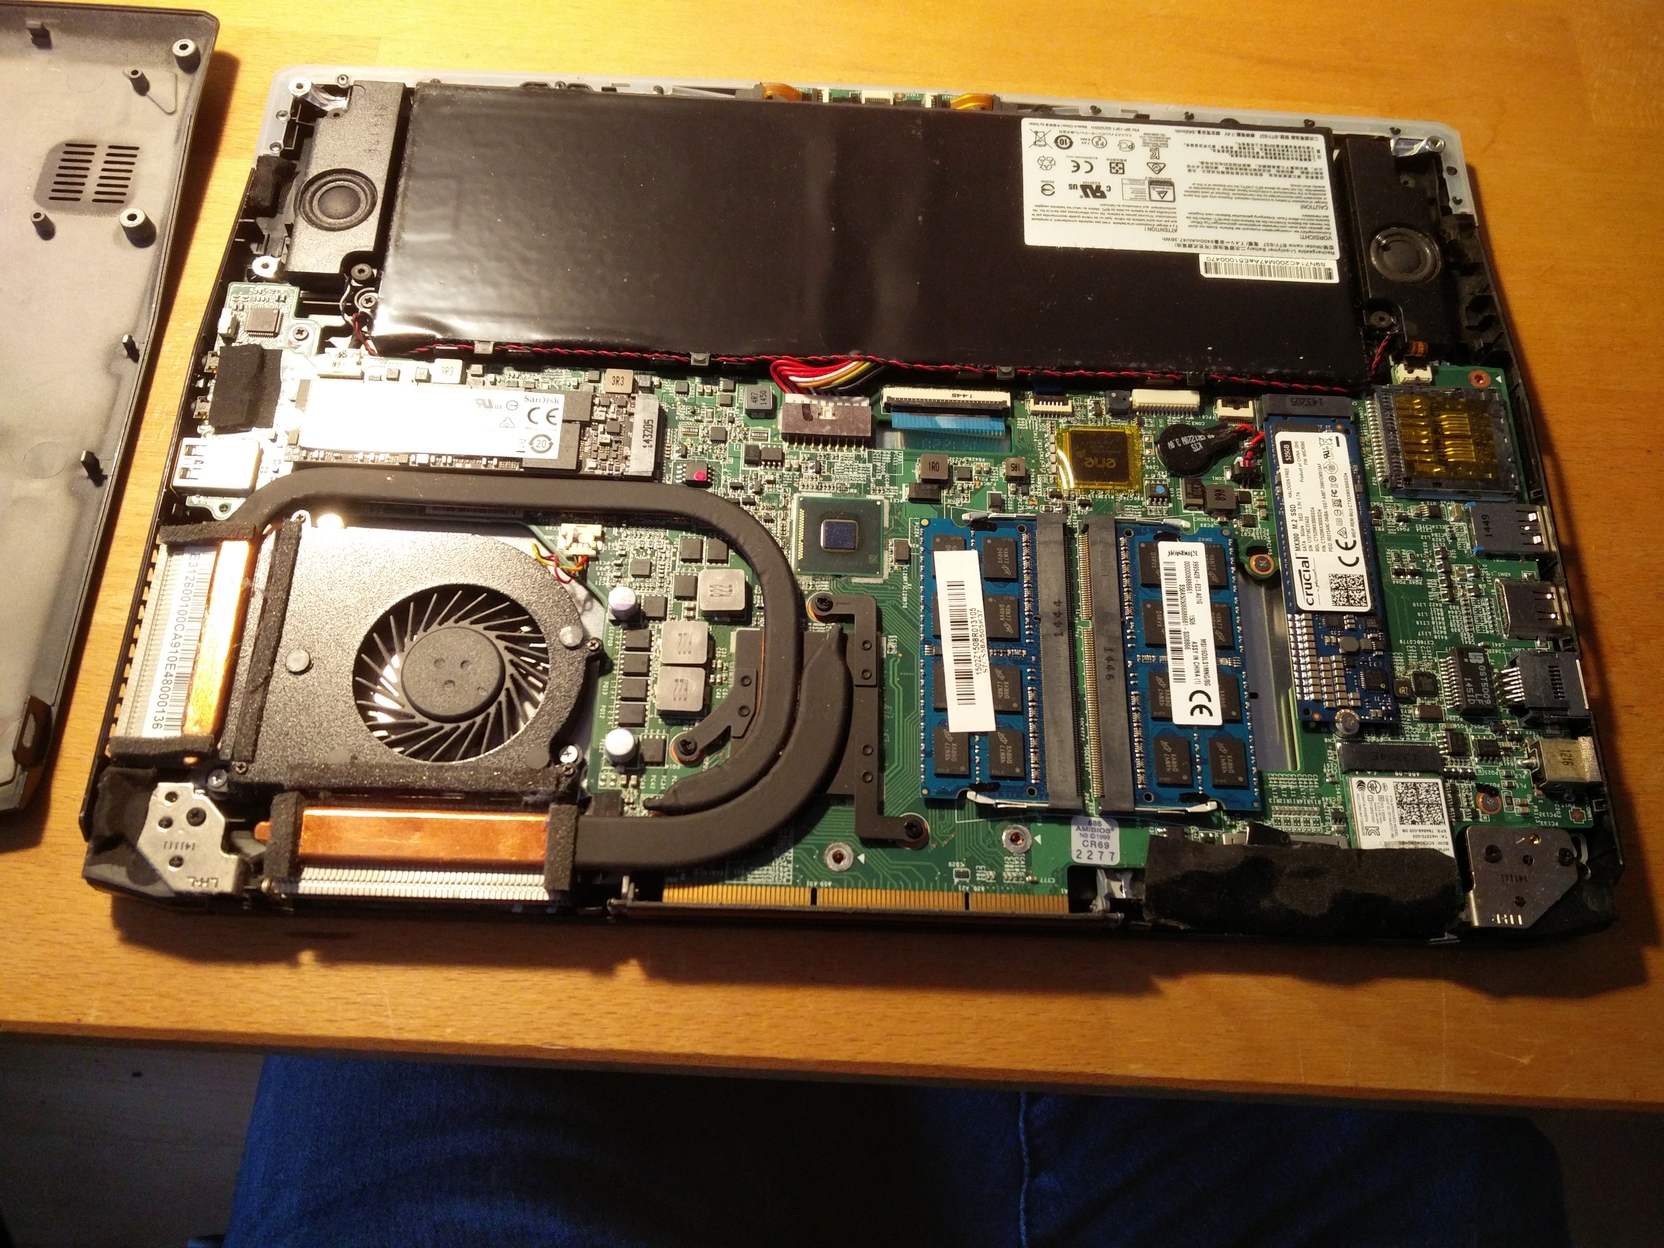
Step 2 - Disassembly of the Laptop
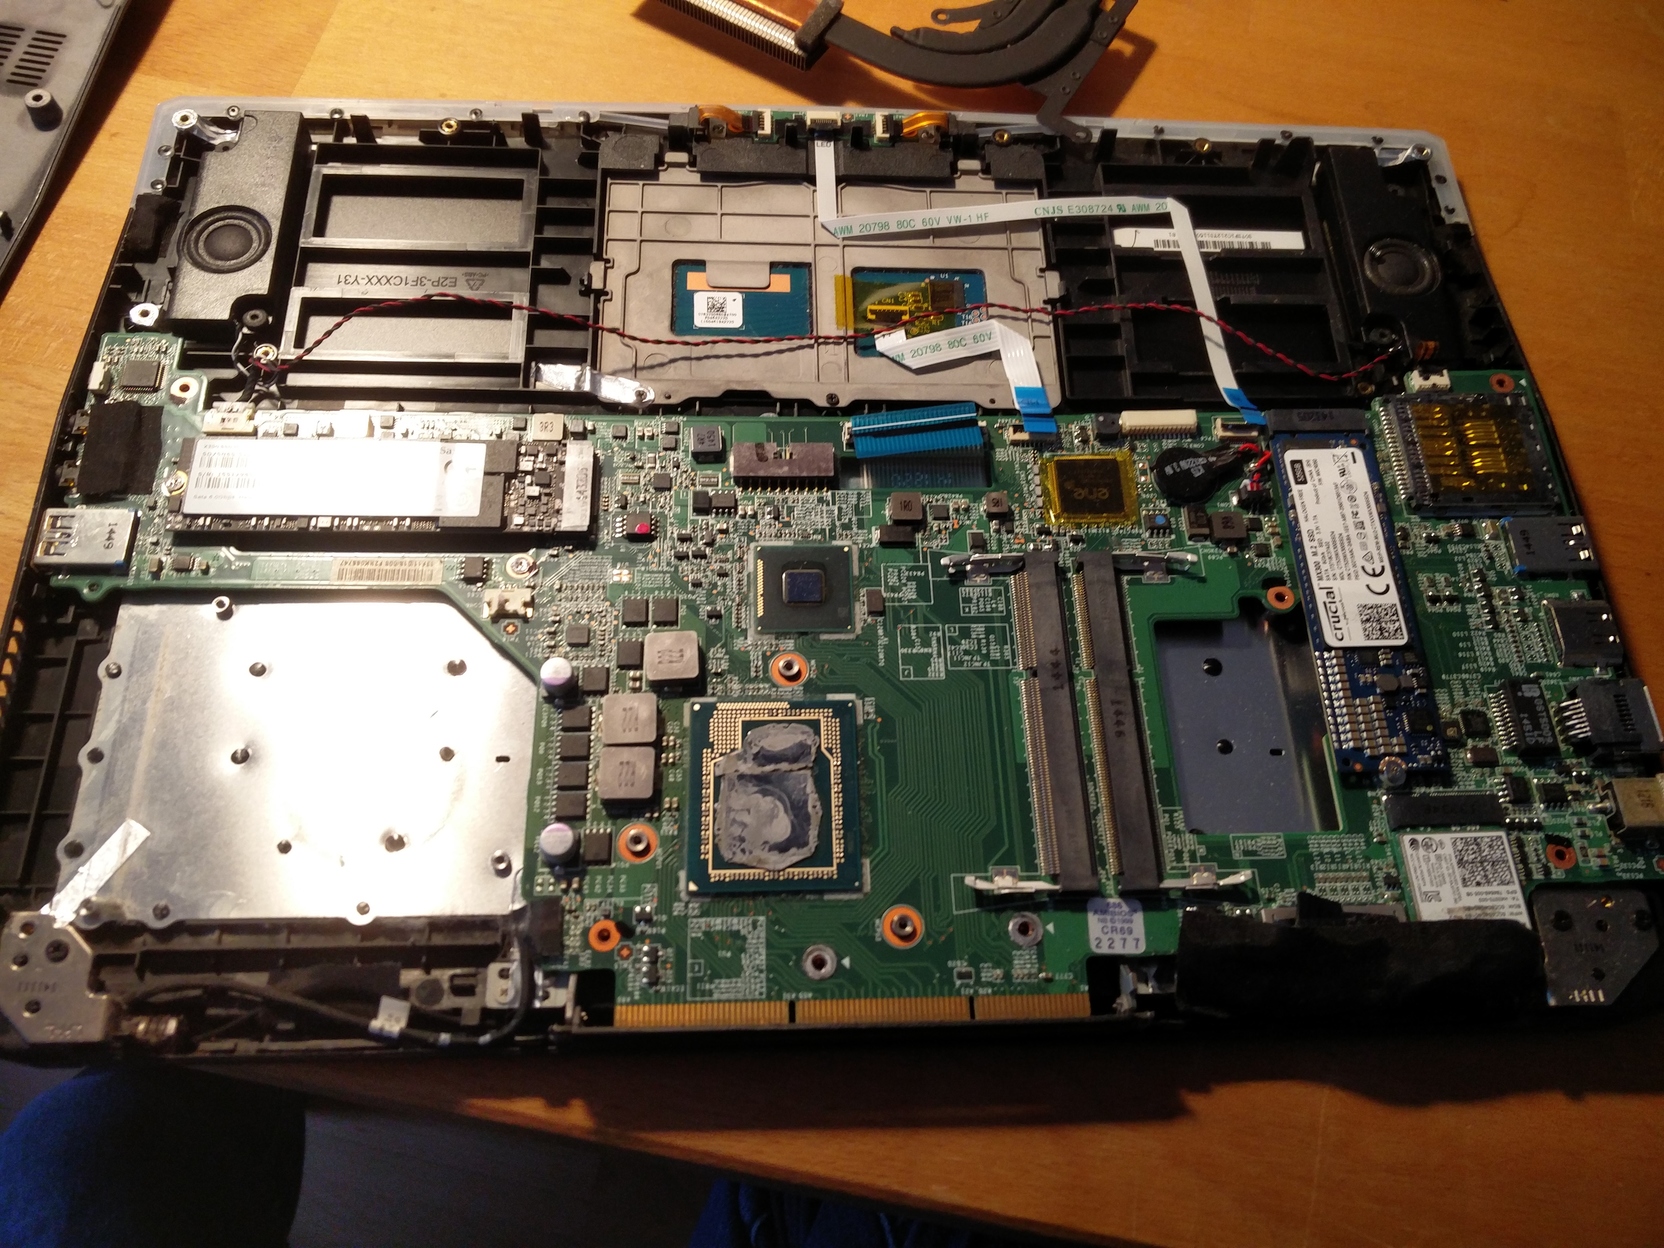
Then I removed the battery and the fan to remove the mainboard. Unfortunately, two screws of the mainboard are located below the CPU’s heatpipes. So I had to remove the cooler as well.
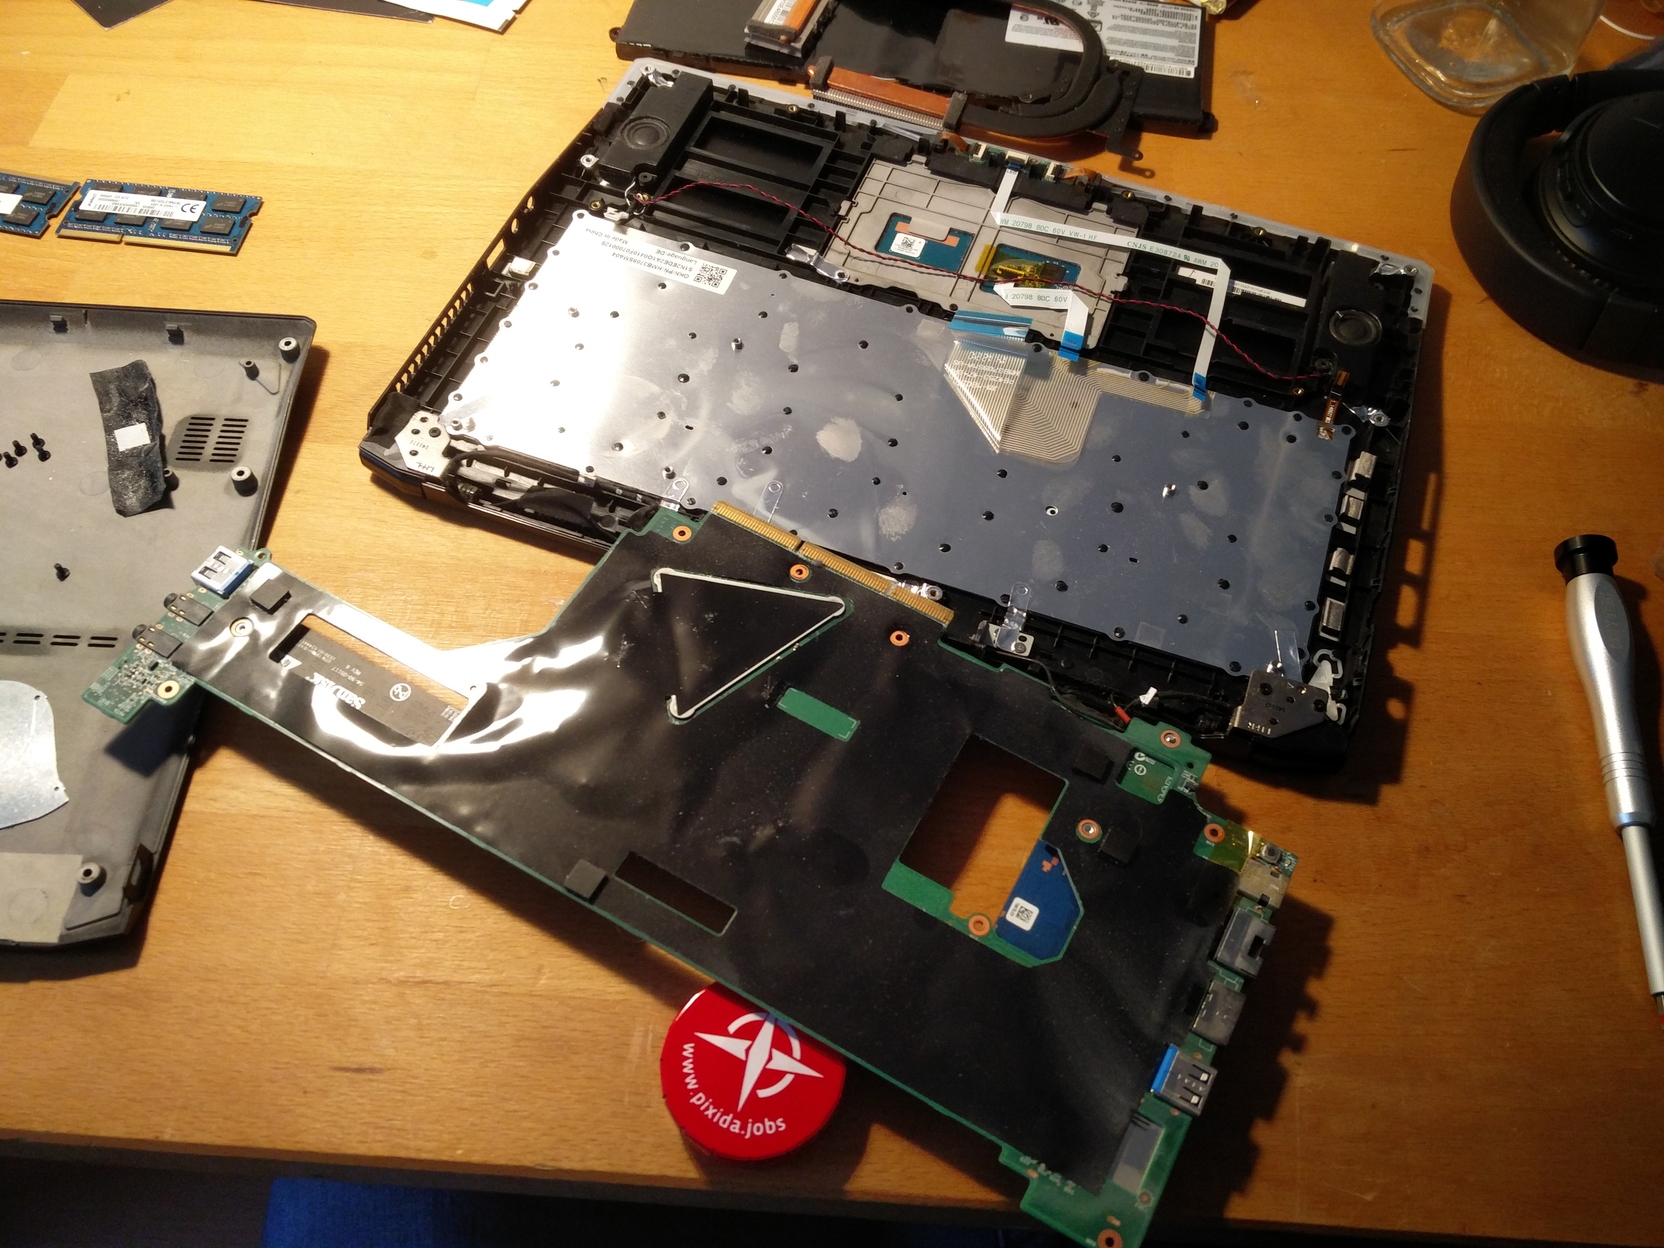
Step 3 - Realize that you fucked up and revert everything
At this point I found out, that you can’t remove the keyboard because it is riveted to the case. Great! So I had do reassemble the Laptop. Removing the CPU-cooler was totally unnecessary. I applied some more heat-conducting paste to the cooler, but I only had the cheap one at home. This works, but I ordered some better one to ensure my CPU stays cool (which is a major issue with this laptop).
However, I can still change the layout by removing the key-caps and replacing them with the ones from the US-keyboard.
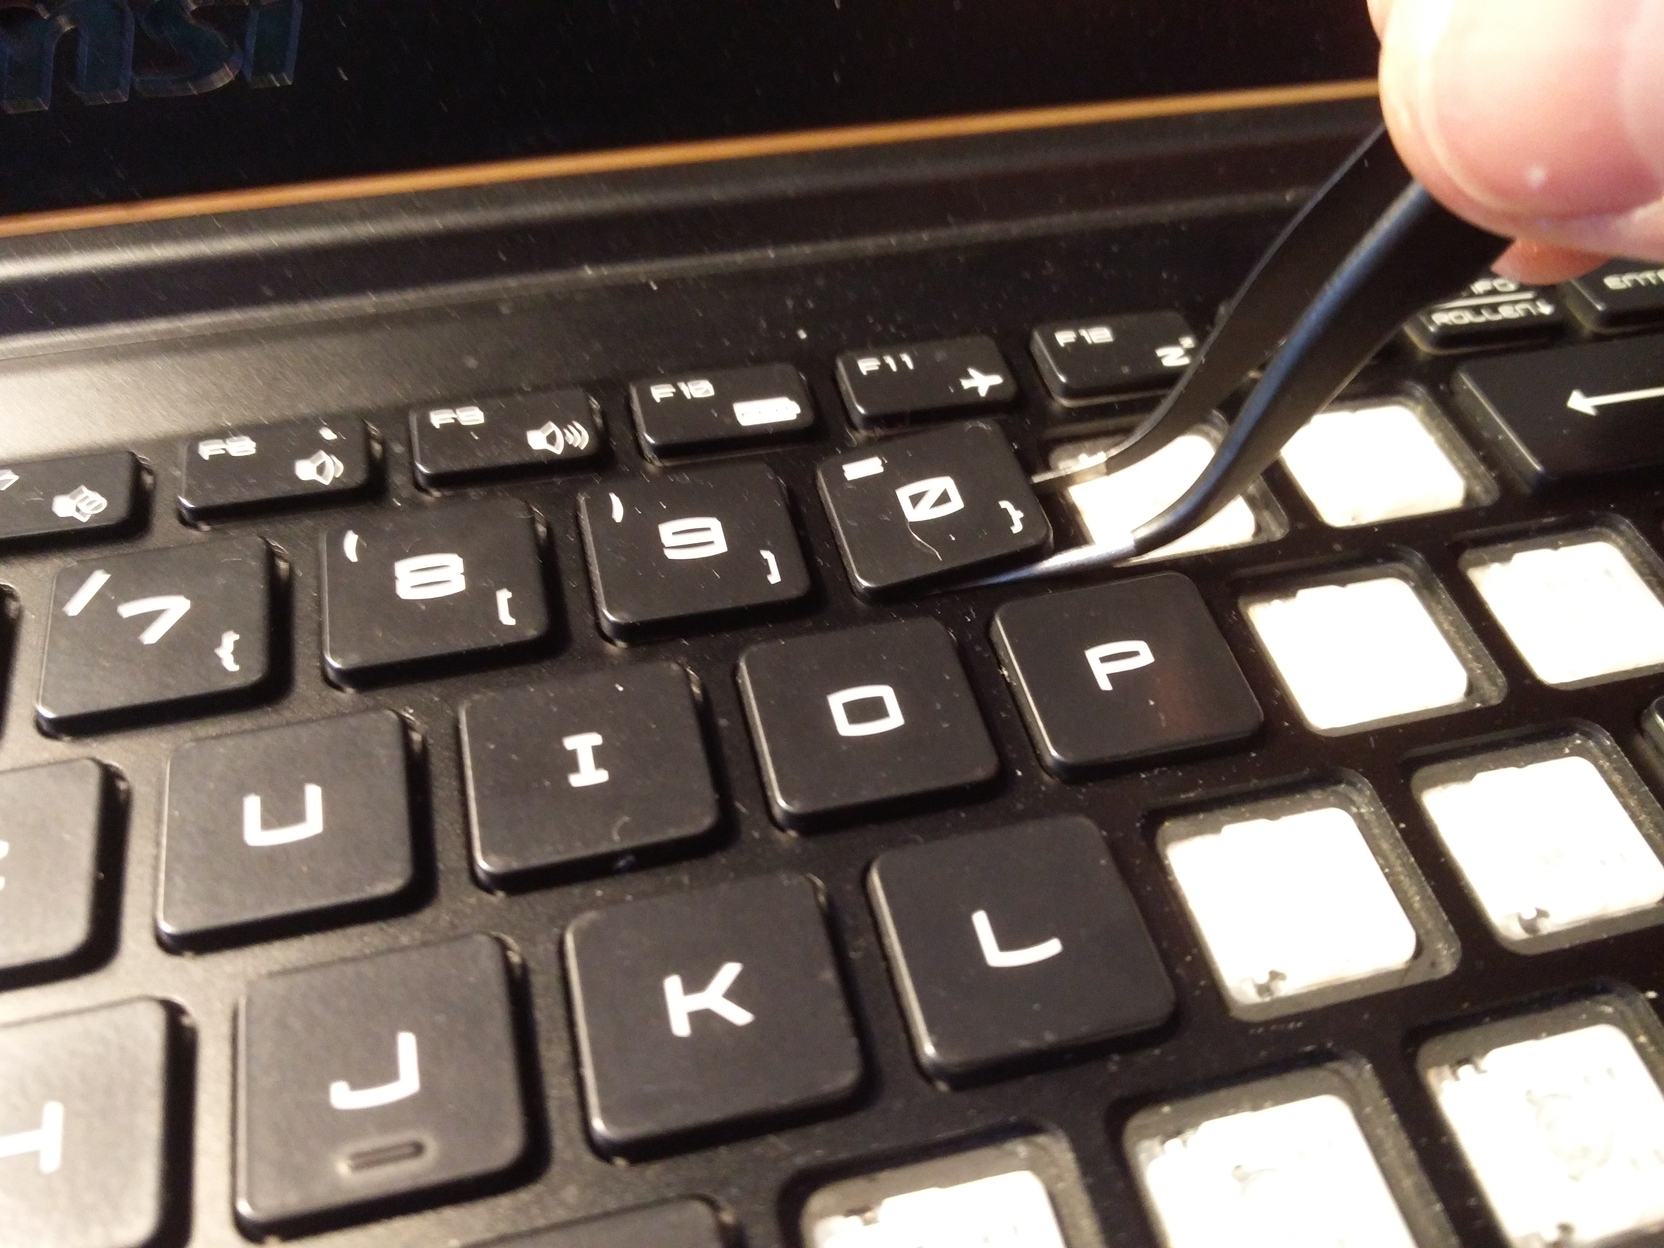
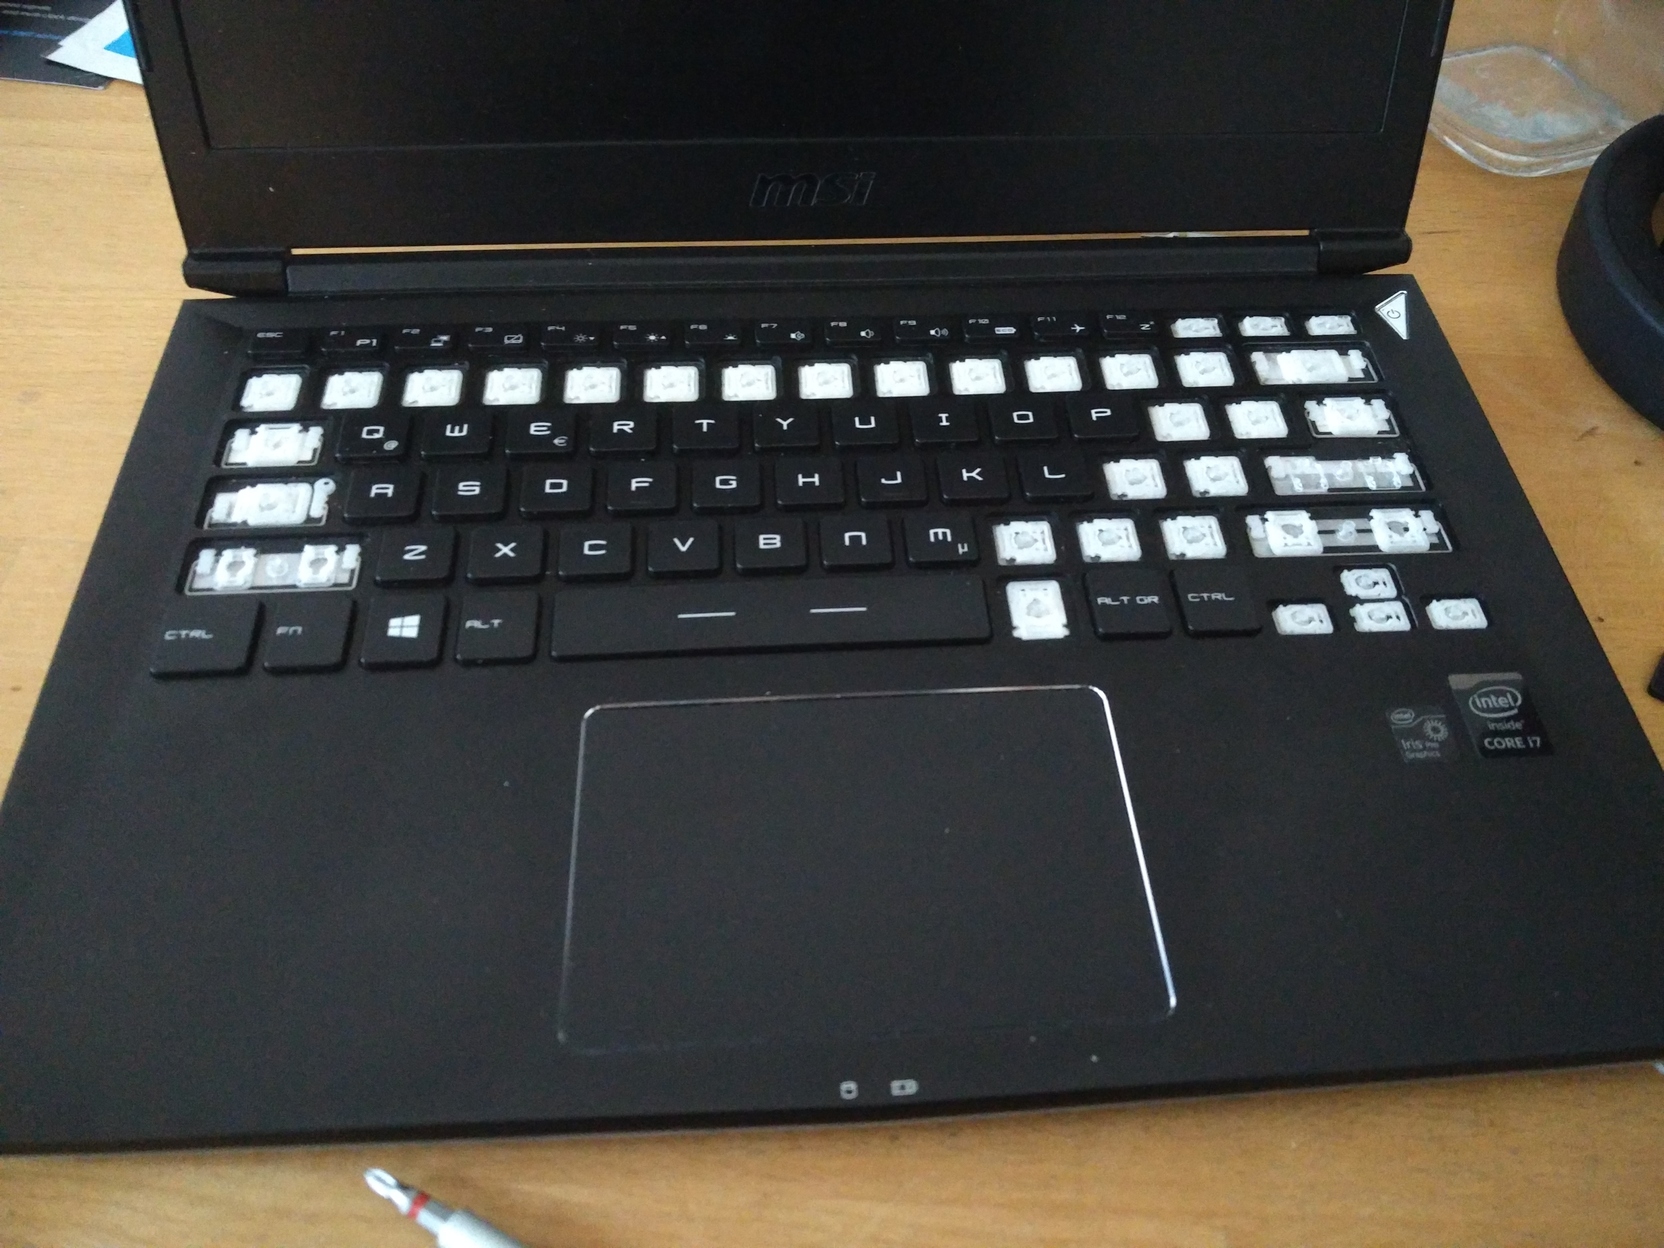
When you remove the caps you have to be very careful, the “scissors”-mechanism break extremely easy. In the whole project I broke two of them. (But I’ve still got a whole keyboard full of replacement parts 🤷)

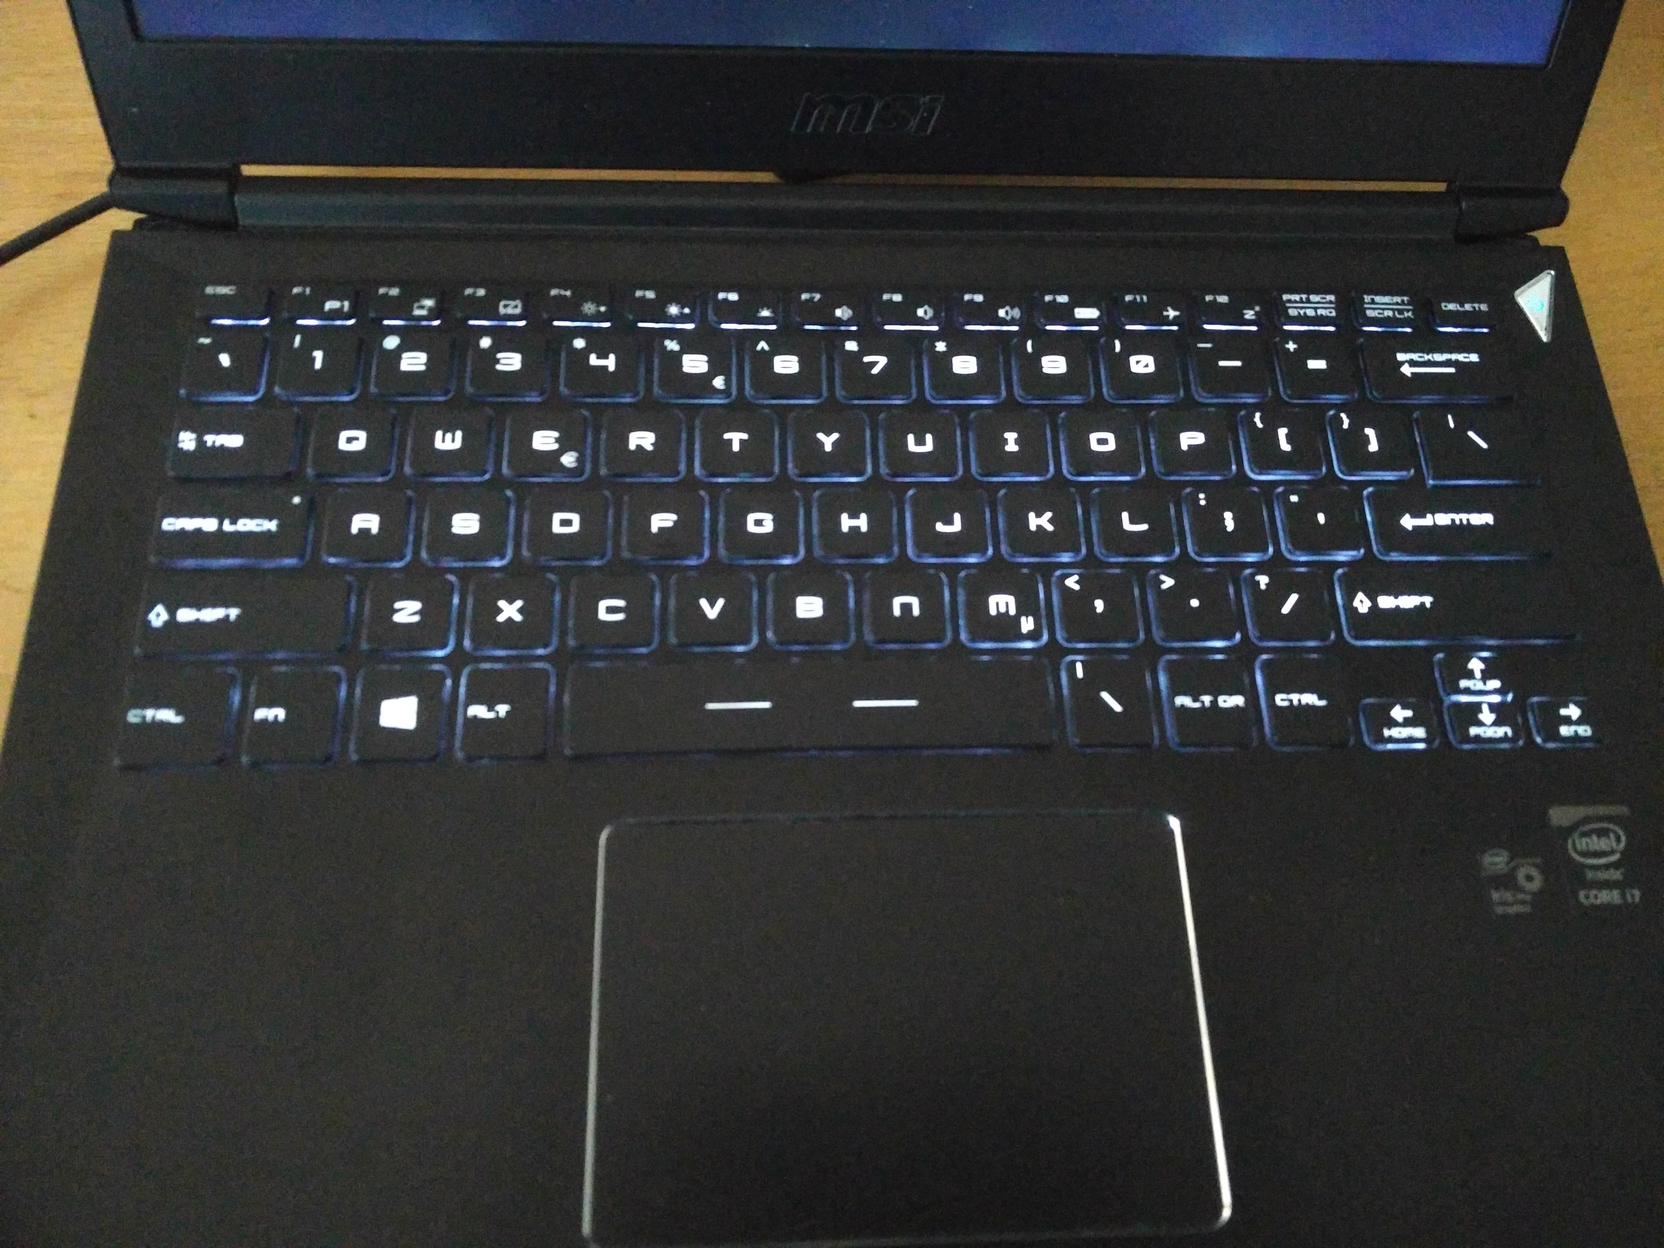
Summary: I now have a nice US layout on my laptop, it has cost a lot of money for a rare use case and I have to apply new heat-conducting paste to my cooler 👍.