Laundry Basket
This is about a project from March 2018, which I thought was a nice topic for the blog here. Unfortunately I can’t remember all details in sizes of the pieces and I don’t have photos of all steps.
For my first appartment, I bought this cheap laundry basket from amazon. It did the job for a few years, but the metal rods from the frame deformed, so it was time for a new one.
I looked online, but I found nothing I liked. Stuff was crappy and/or too expensive.
So, I decided to build my own:
I bought
- 4x 2.5m * 6cm * 1cm oak wood lath for the side faces.
- 1x 2.5m * 4cm * 3cm oak post for the frame.
- 1x 35cm * 35cm * 1.5cm plywood from the scrap basket at the hardware shop, for the bottom.
- 2x 1m *4mm diameter round beech rod
I let the hardware store cut the oak lath into 50cm pieces, what was a mistake. Not because the lenght was wrong, but because they carged 0.50€ for each cut, which was 7€ for 1 minute of work for them. Conclusion: FUCK YOU Bauhaus, I’ll try to never buy anything at these stores anymore.
All in all it costed me about 70€-80€, which is relatively expensive. But laundry baskets made of oak are even more expensive, if you buy them ready-made. And I like thinkering, so ¯\(ツ)/¯ .
First I cut the lath into pieces of 16cm and cleaned my desk from all the scrap that accumulates over time there.
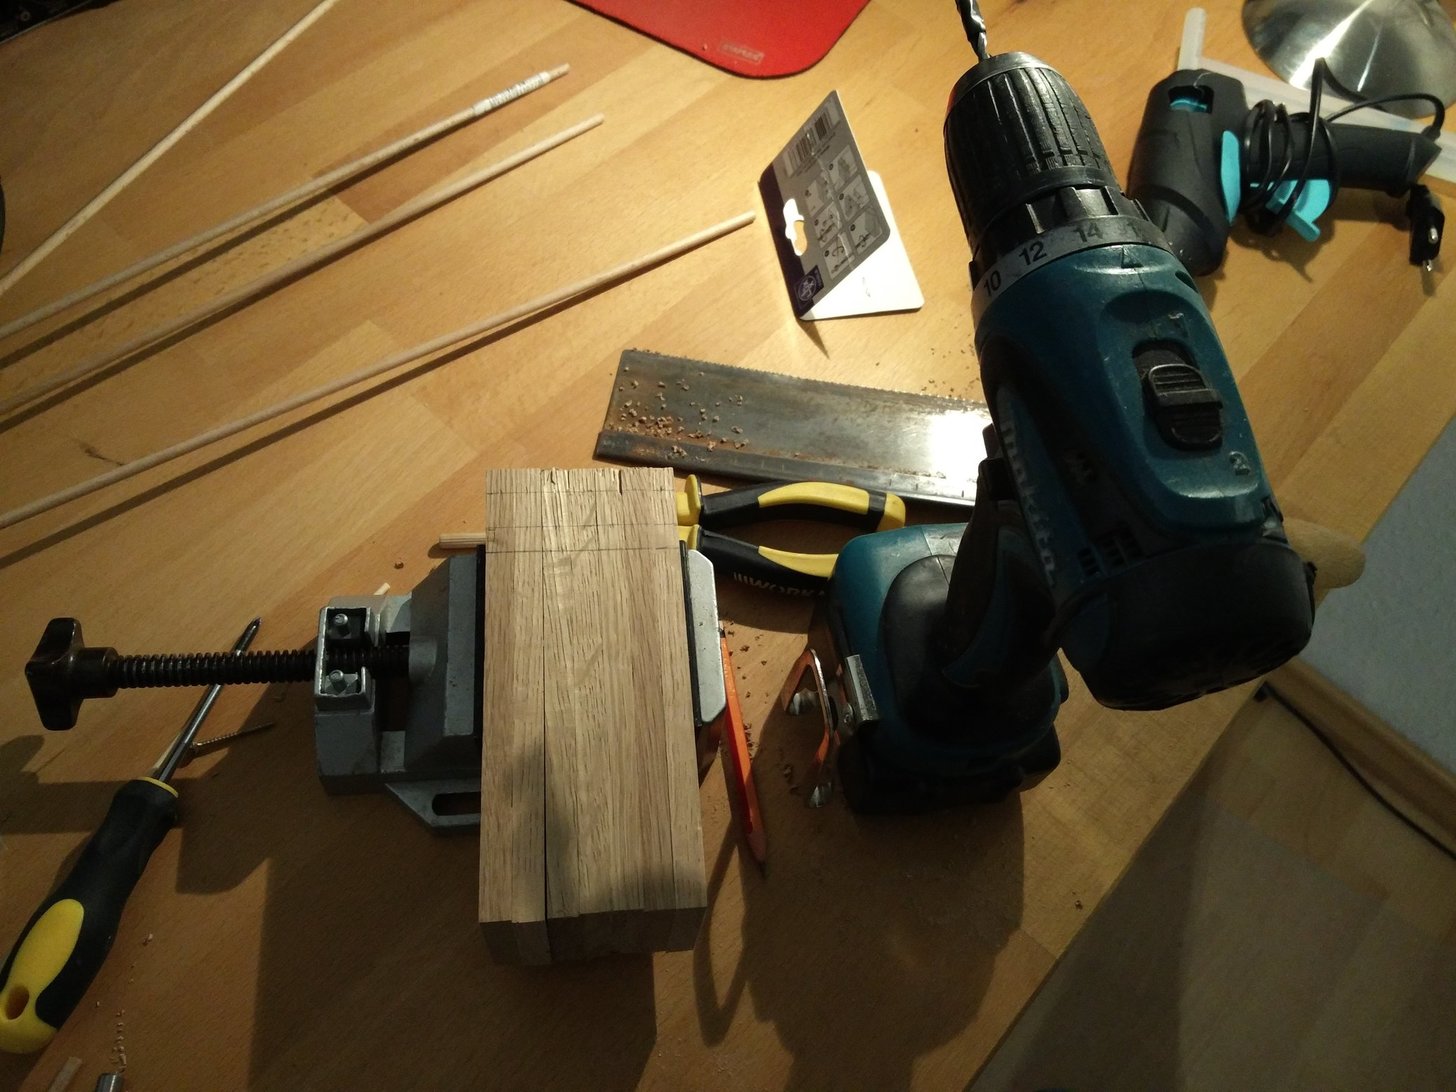
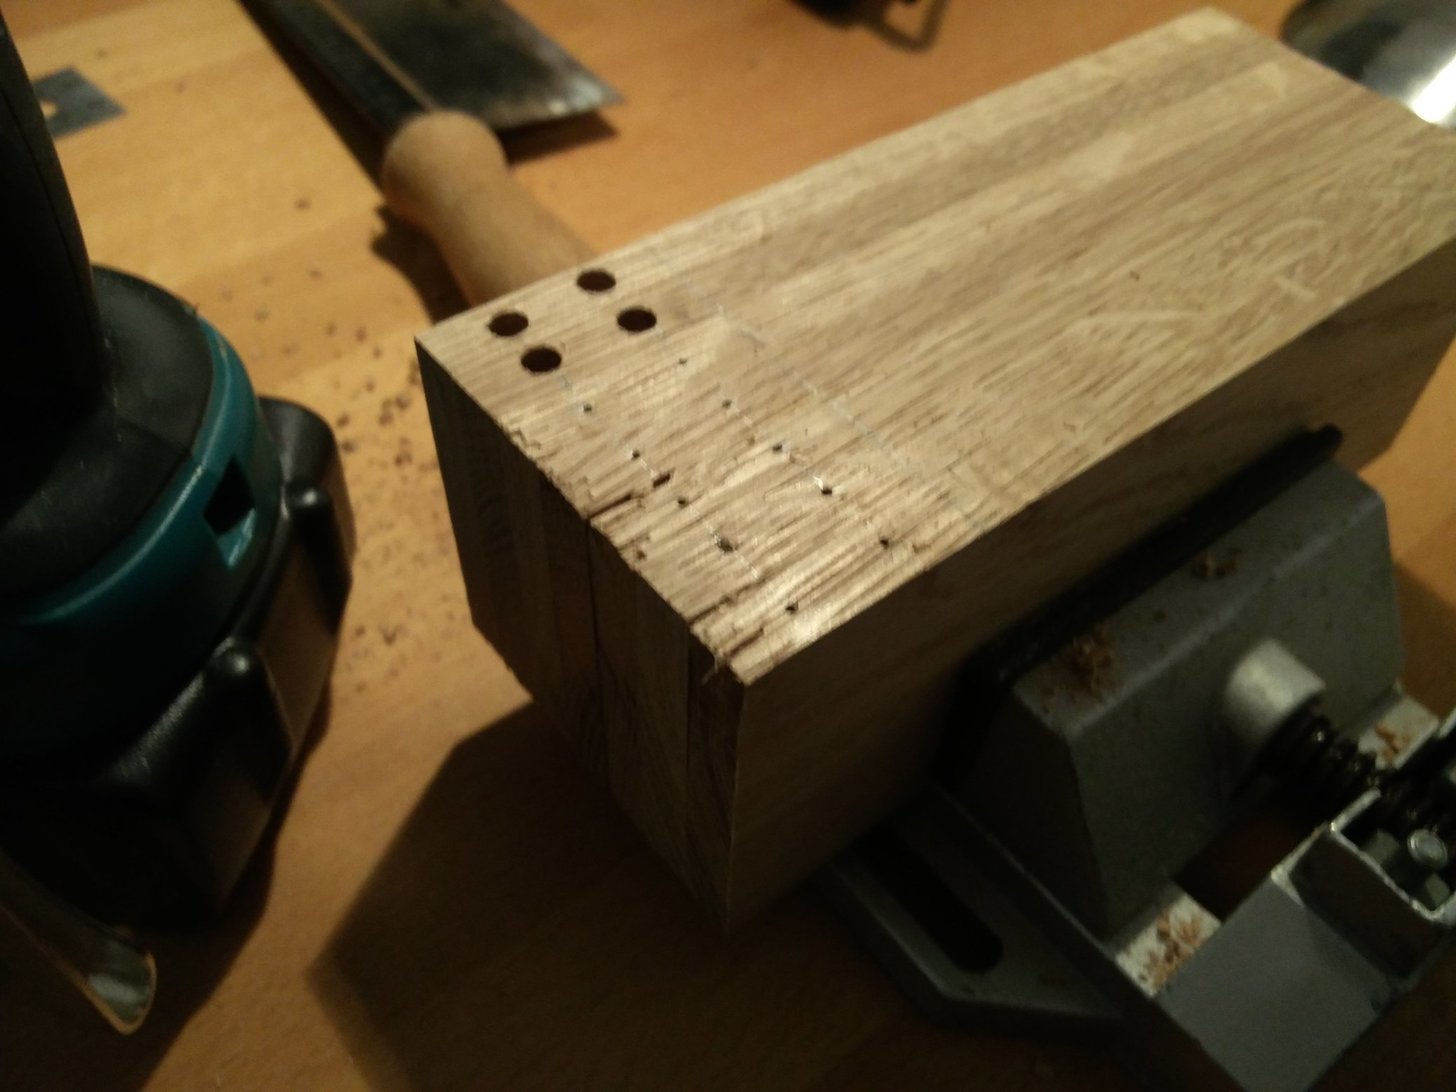
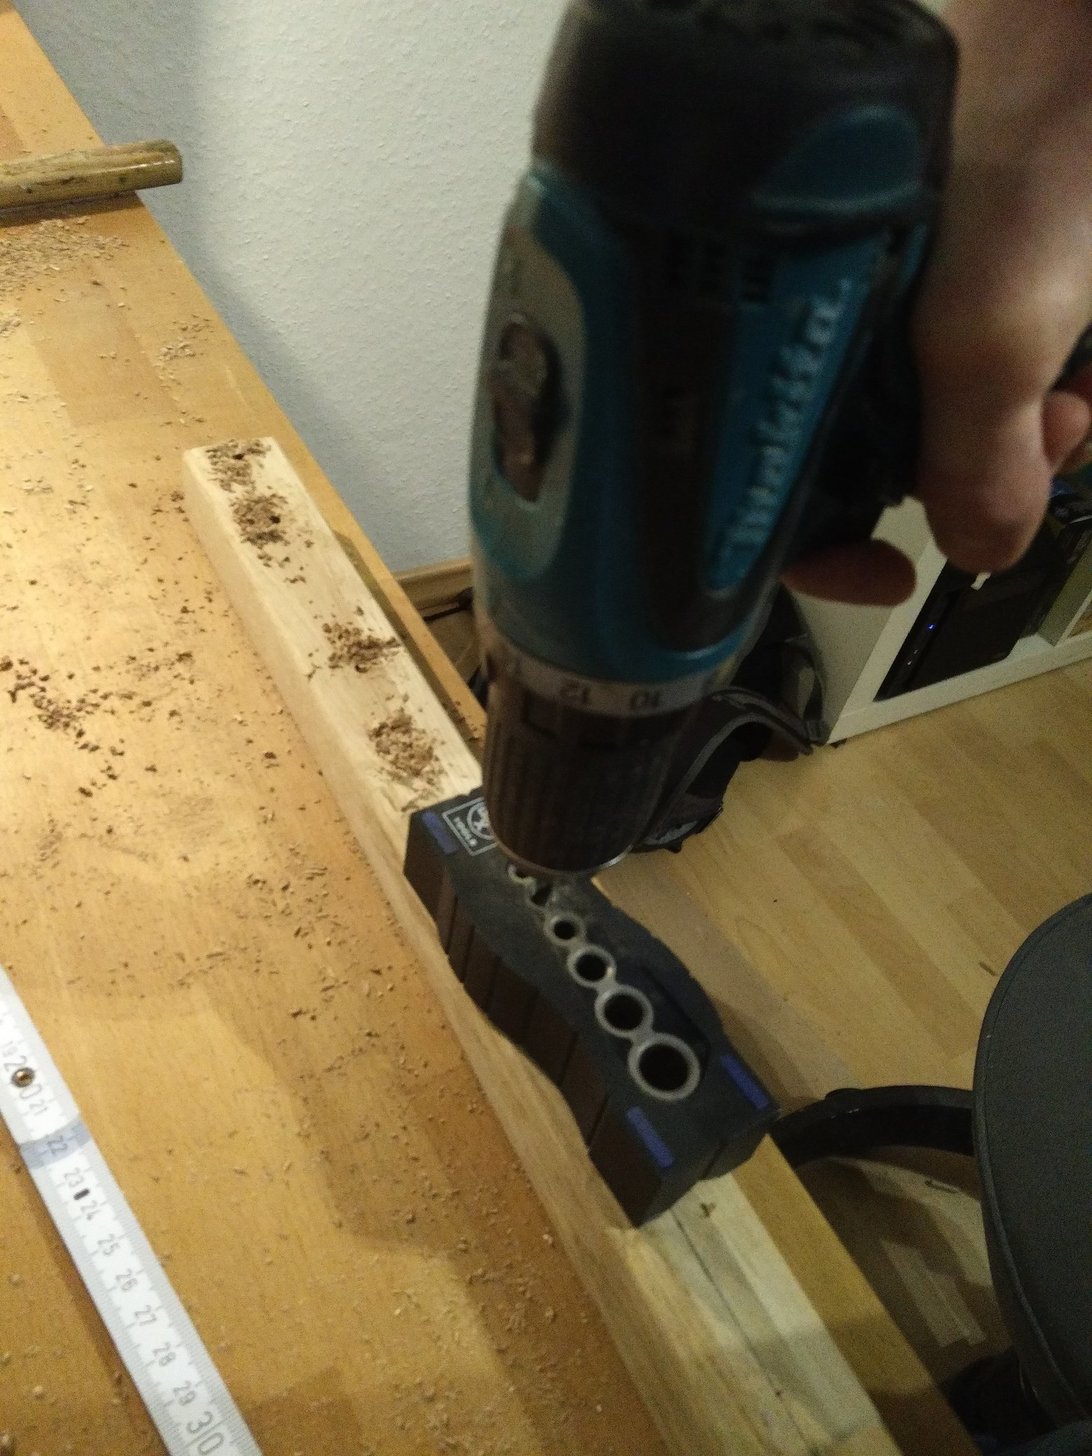
Then I drilled two 4mm holes into each piece, to put them together with a wood plug later on.
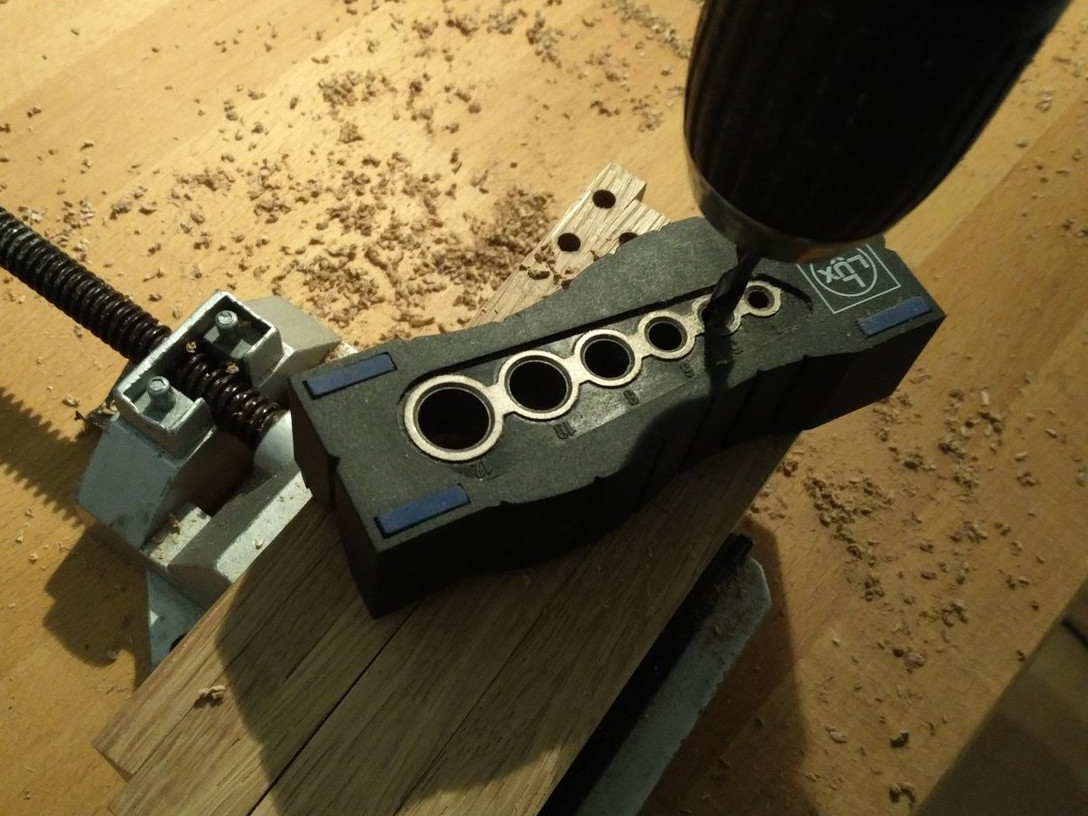
I don’t have a drill press in my student appartment, so a hand drill with a drill jig had to do the job. It was not super precise, but it worked in the end.
I also drilled the holes in the oak posts, so that all pieces could be put together with wood plugs.
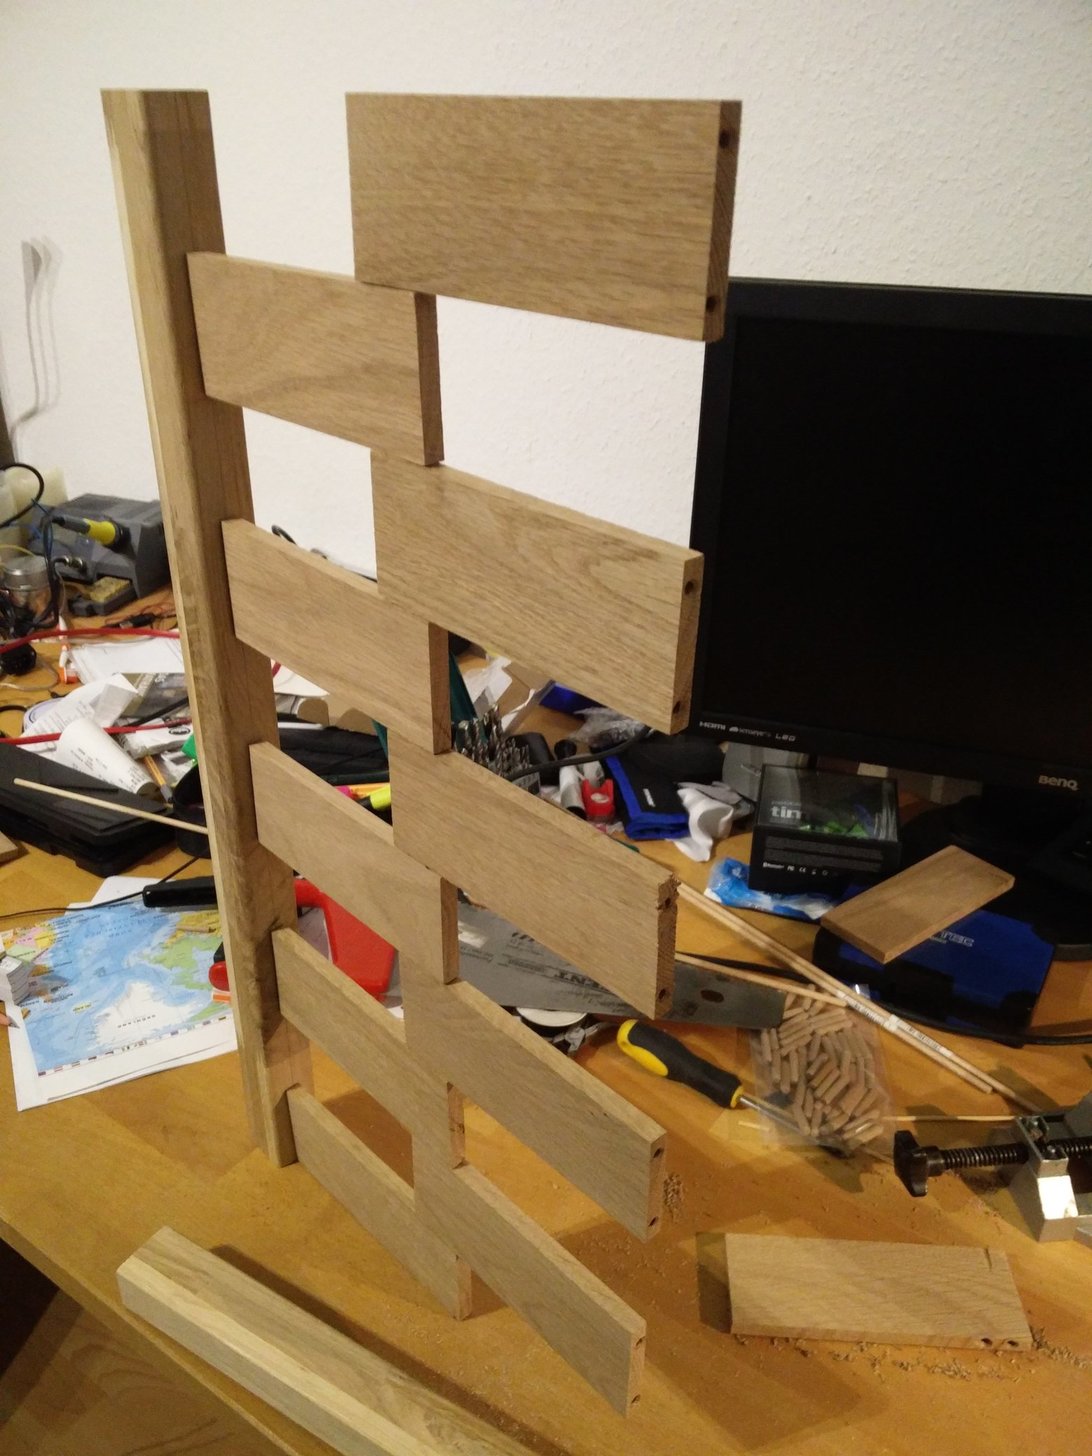
This is how the assembly of the frame looked like:

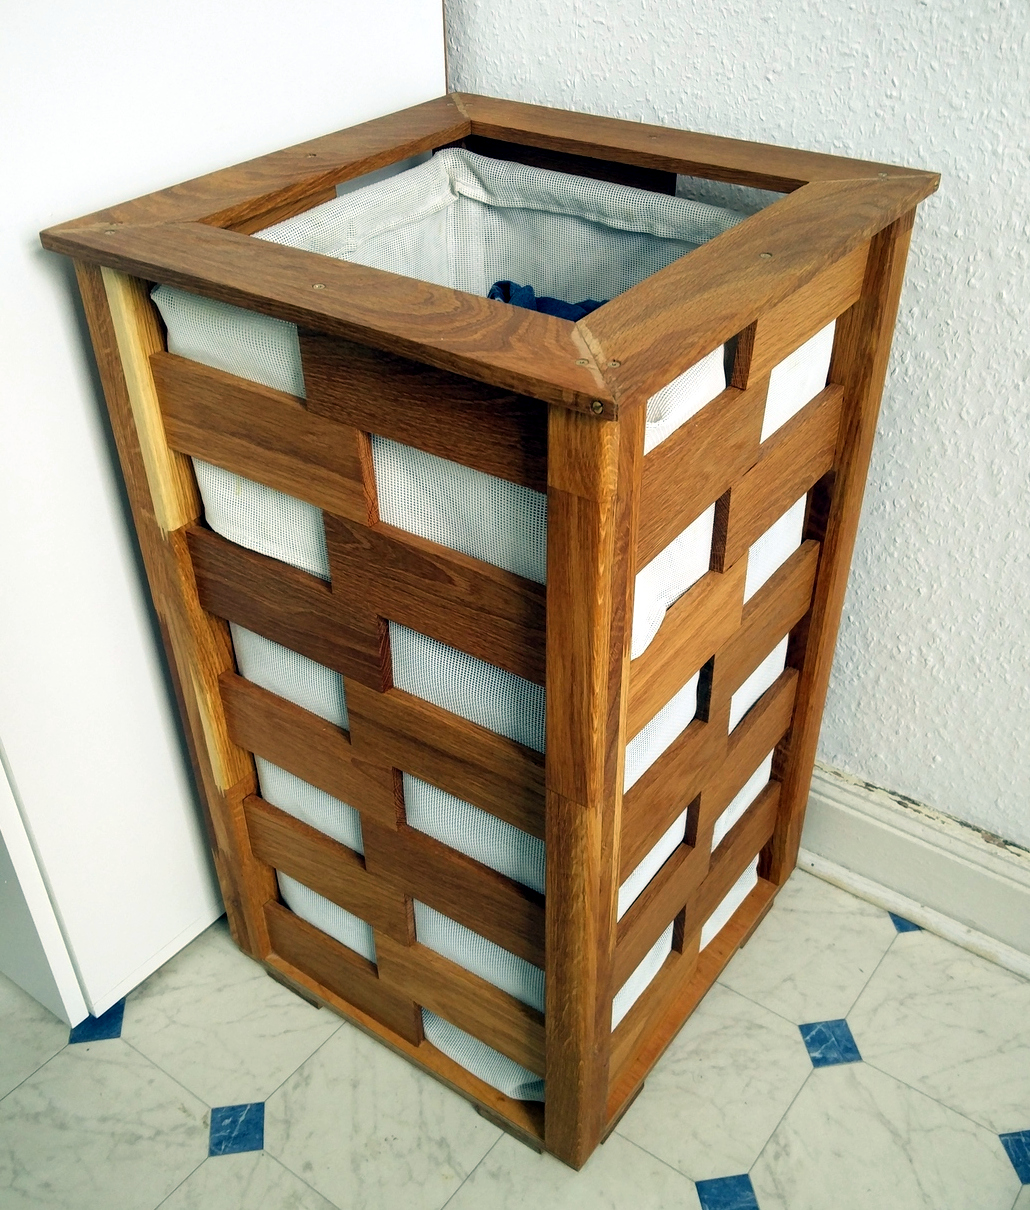
The remaining oak late was cut with 45° miter cuts into 4 pieces, which are glued together to form the top opening. I used the plastic fabric inlay from the old laundry basket. My first idea was to fix it with screws to the inside of the basket, but it is stiff enough, so that this is not necessary. simply screwed the frame onto the bottom frame, the sides are not glued at all. I used some small pieces of wood, to add some stands, these are glued as well.

This is the final laundry basket. I’m quite happy with the result. It took al in all 1.5 days to finish and it fits my taste way better than anything affordable I’ve seen.
When I was oiling my dining table, I decided to oil the laundry basket as well, but this was a bit of a mistake. It became a lot darker and I quite liked the pale look of the unthreated wood. But it is still ok…